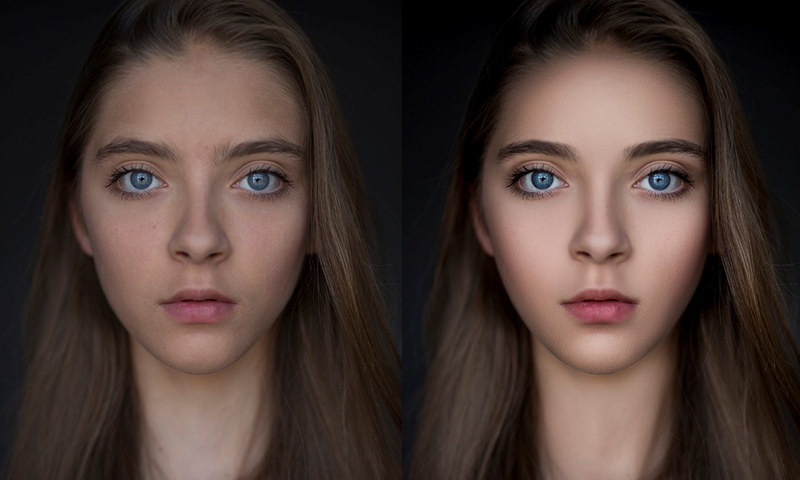
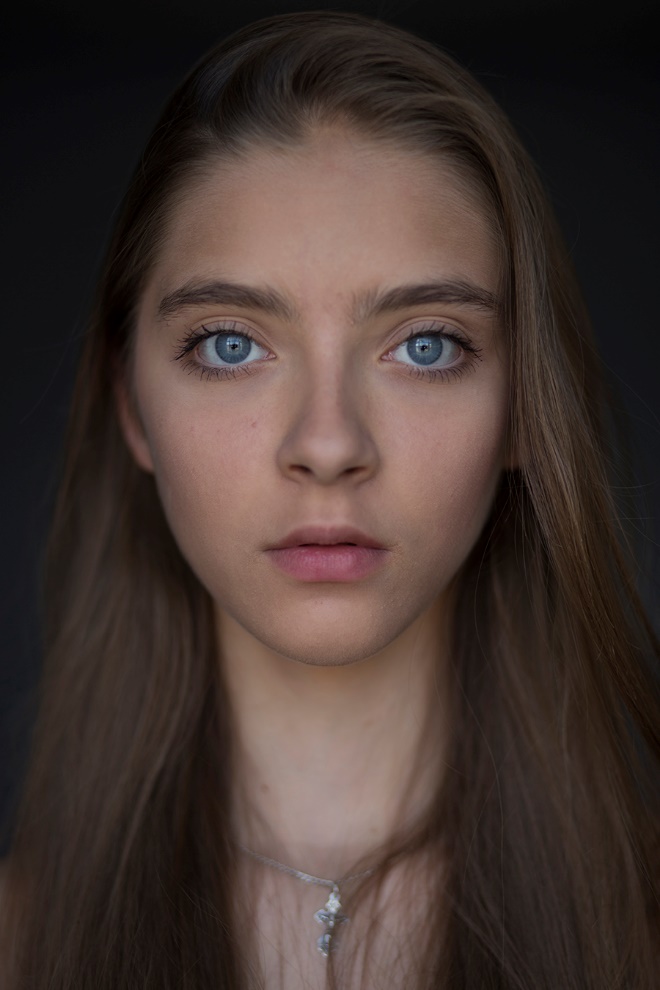
Portrait retouching is a delicate work and requires a special approach since it is necessary to eliminate all the skin flaws while preserving the natural look. In this tutorial, we’ll look at how to dodge and burn in Photoshop to make female portrait pop.
Dodge and Burn is suitable for very high-resolution images. For the convenience of photo retouching, we recommend using RAW files.
Tutorial details and resources
Difficulty: Beginner
Apps: Adobe Photoshop (CS5-CS6, CC)
Estimated Completion Time: 20-30′ Minutes
Resources: FixThePhoto Presets
Step 1 > Preparation
Open the photo that you decided to retouch. You should consider all the irregularities of the skin, which should be eliminated. To perform a high-quality image retouching, the image should be viewed on a large magnification – up to 100% (Ctrl and +). Now it is easy to see where to remove the enlarged pores of the skin, white dots under the eyes and small indentations or tubercles. Having determined the amount of work, you can start photoshopping.
Step 2 > Duplication and Spot Healing Brush
Create two correction layers: for lightening and darkening. Next, use the Spot Healing Brush tool to remove the minor shortcomings found earlier.

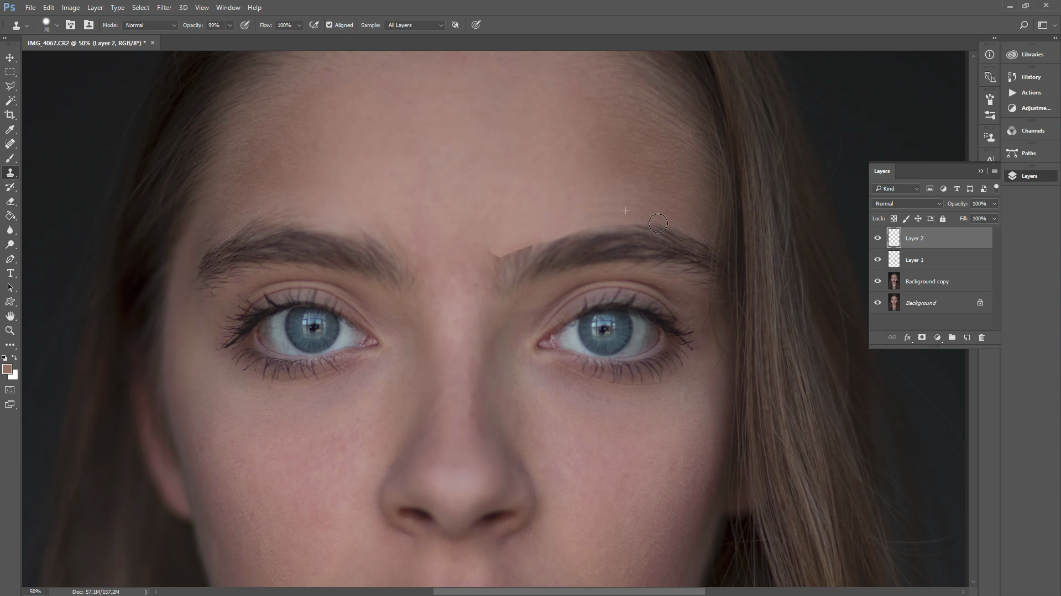
Step 3 > Eyebrows Correction
Use the “Stamps” tool to correct the eyebrows.
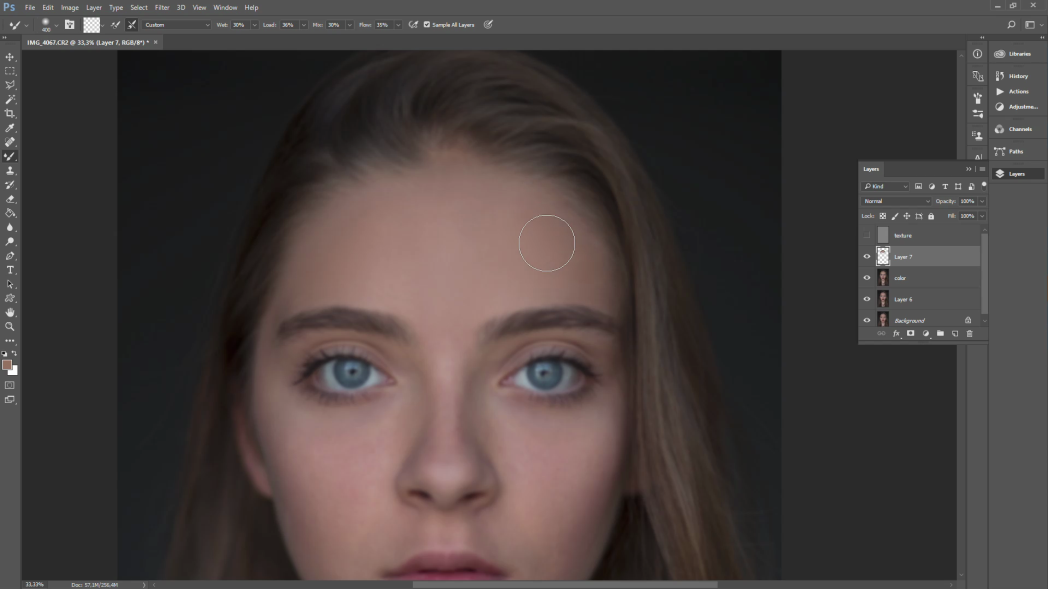
Step 4 > Frequency Separation
Align the light-shadow pattern on the face with the help of the Frequency separation.
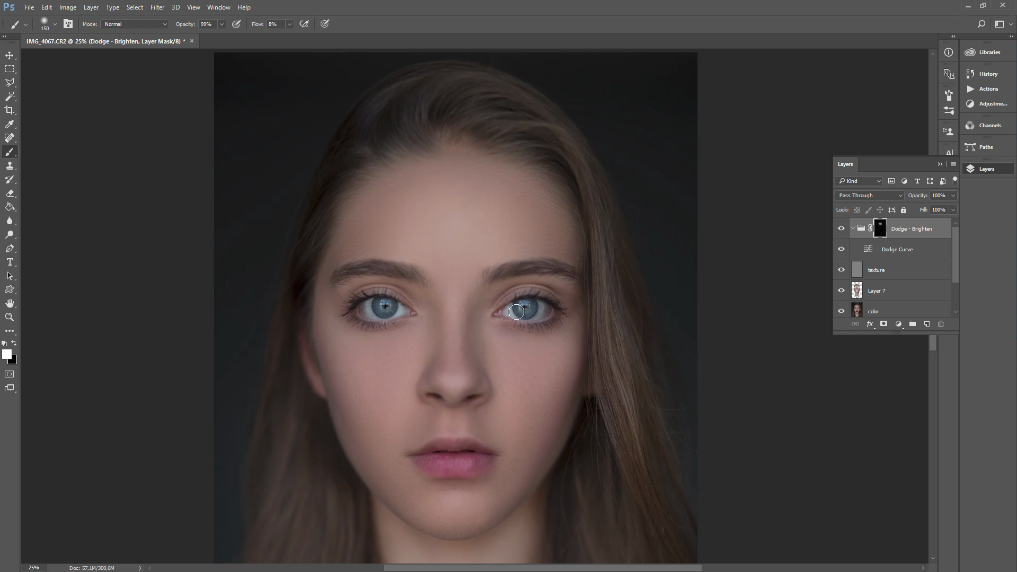
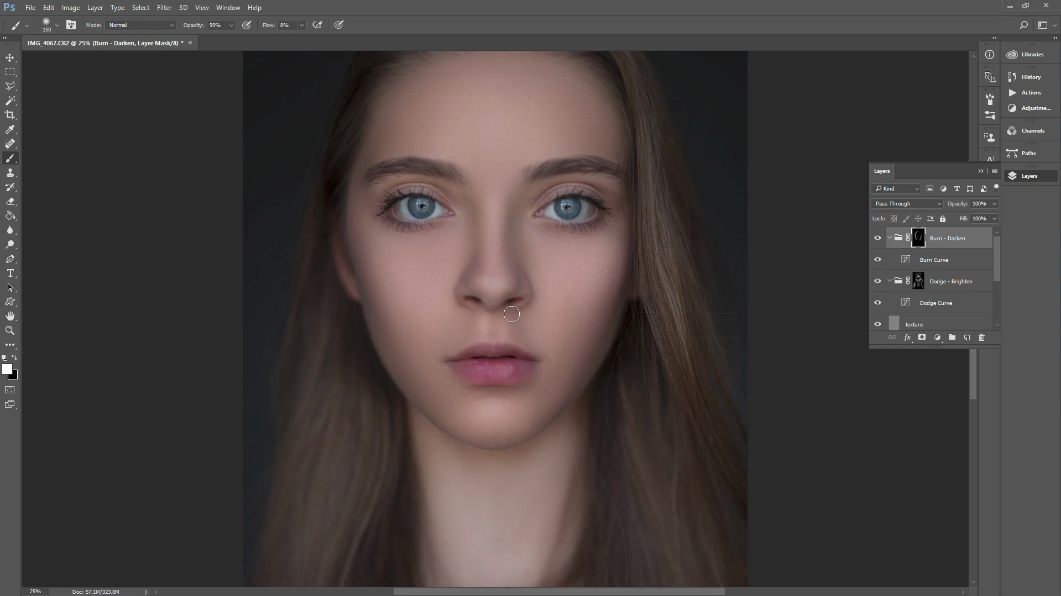
Step 5 > Dodge Part
Using the Dodge (lightening) layer, lighten the forehead, eyes and emphasize cheekbones.
Step 6 > Burn Part
Using the Burn (darkening) layer, darken the contour of the face, cheekbones, forehead, eyebrows, and lips. Then use the brush to align and make the volume.
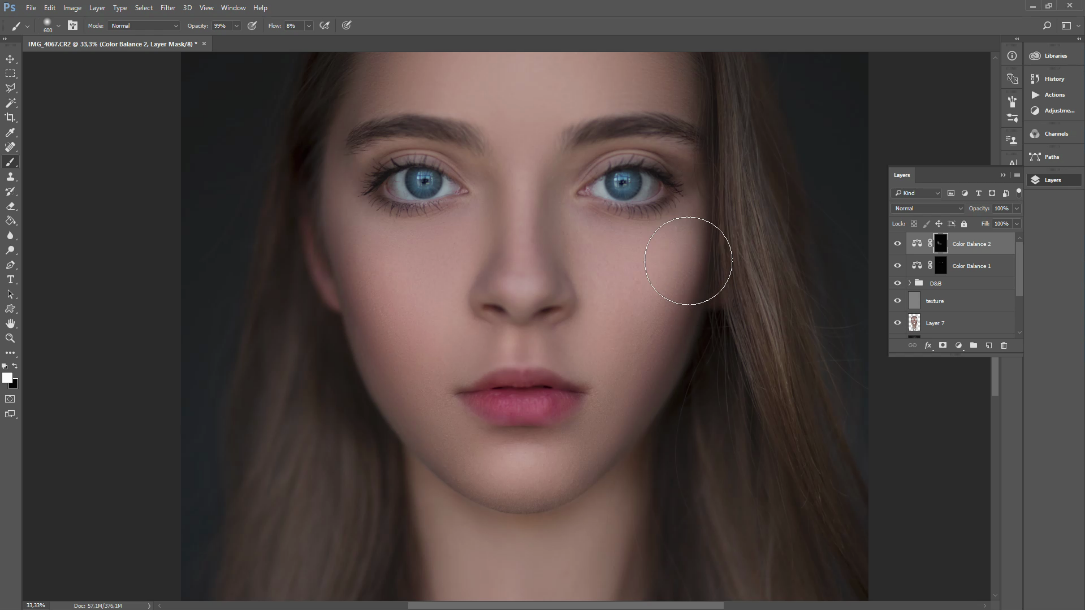
Step 7 > Light and Color Correction
Align the skin tone and make the color of the lips and hair brighter.
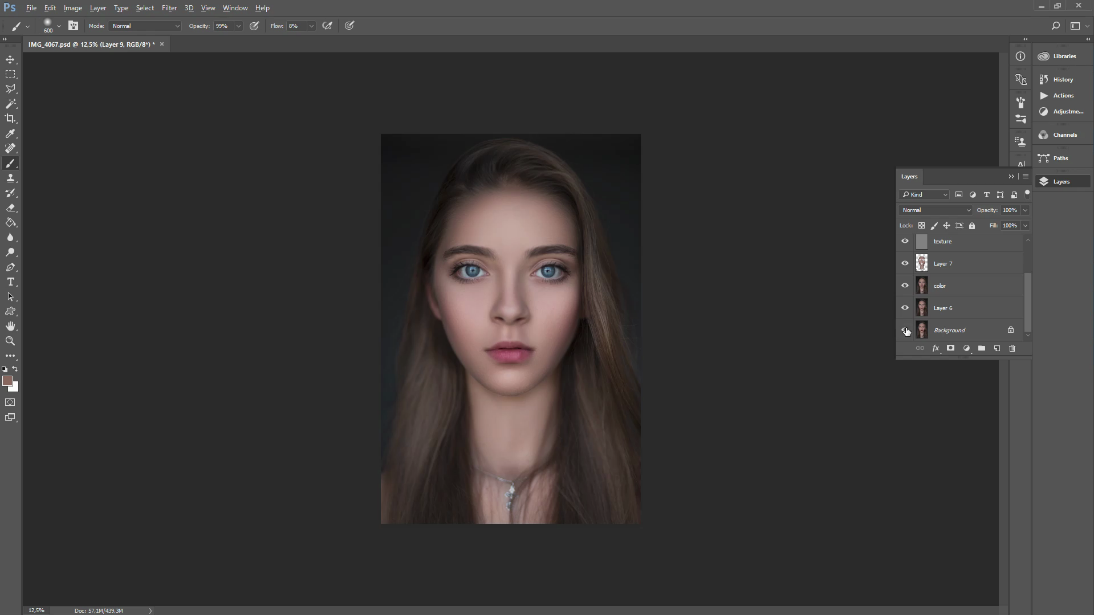
Step 8 > Chin Correction
Correct a chin slightly, using a Liquify tool.
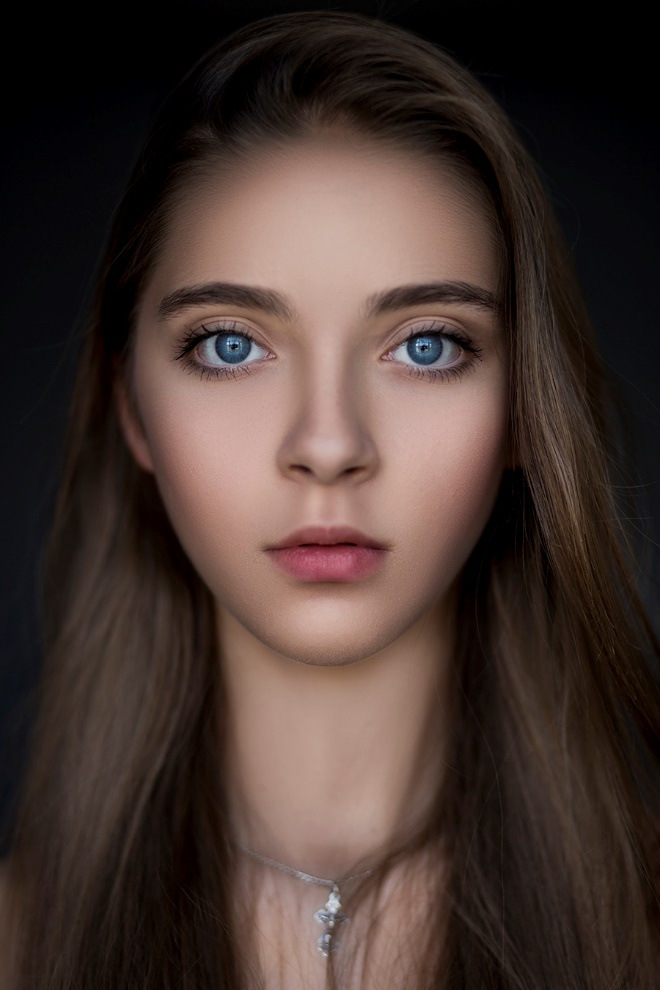
Final Work
Dodge & Burn retouching technique is a very long process and can be difficult for the first time. Sometimes you are necessary to work at the pore level of the skin, to eliminate various disadvantages. However, Dodge & Burn gives an excellent result, does not spoil the texture of the skin and is a non-destructive way of photo retouching.
Author: FixThePhoto
A company of the best photo retouchers offers online photo editing services for professional photographers 24x7x365!.

