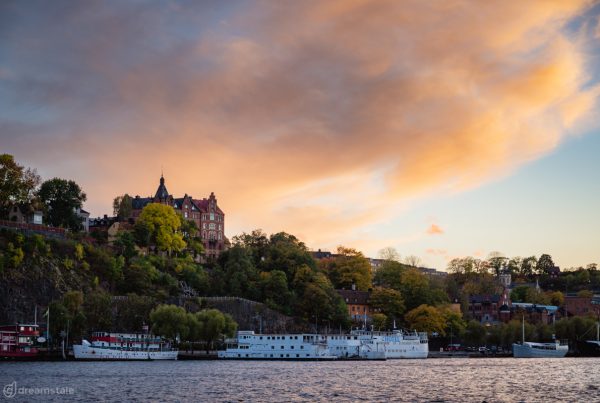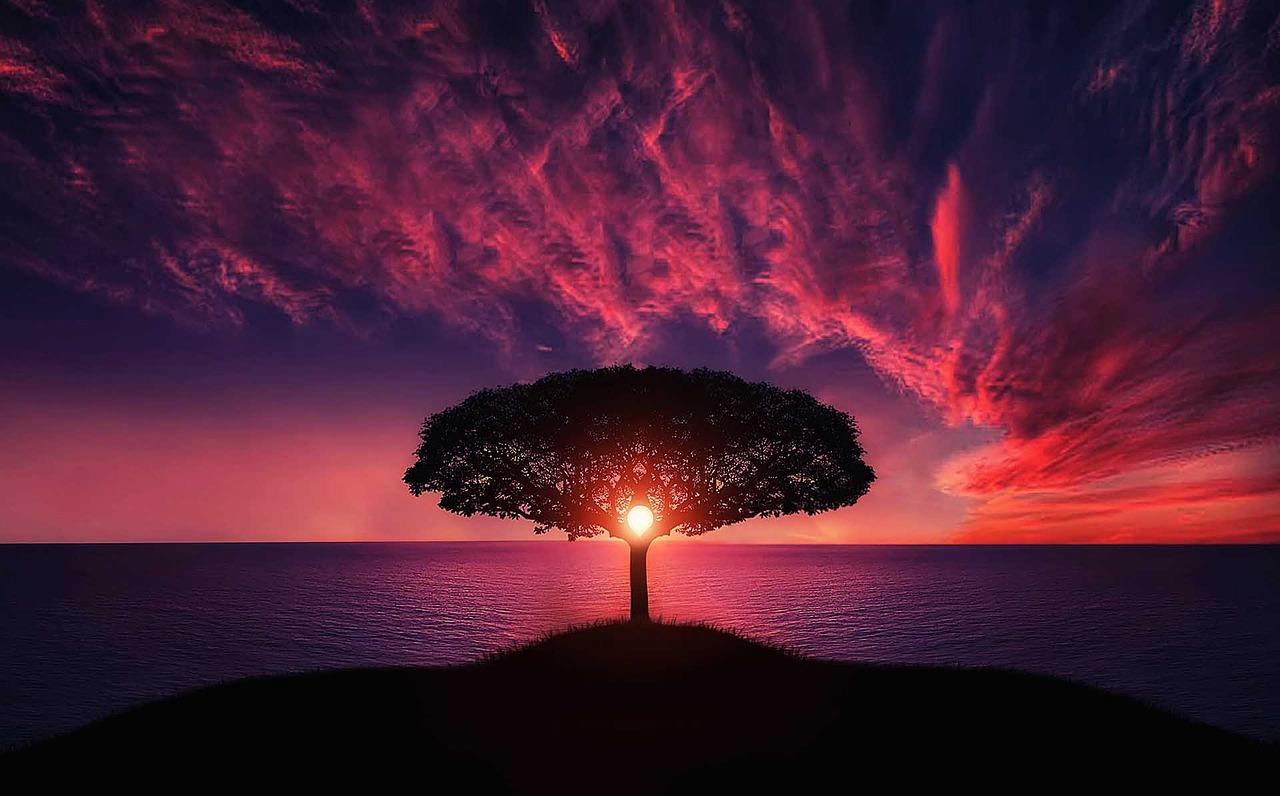
Sunset is one of the most classic subjects of photography. And if you would look at the portfolio of most pros today, you would undoubtedly come across tens and even hundreds of them. As it appears, sunset photos are very appealing. The scenery itself captures an absolute beauty that anyone would attest to be true.
While taking photos of sunsets is relatively common for most photographers, it is quite challenging, especially if you intend to make your shots stand out among the rest. Even so, this detailed guide will help you achieve a stunning and surreal shot of sunsets. And whether you are a skilled photographer or not, this guide features all the basics that you’ll need.
The Best Cameras For Sunset Photography
Any decent camera will do. Besides, almost all people today already have a high-tech and innovative technology that can pretty much accomplish efficient sunset photography. But in a much stricter sense, any digital camera that offers manual adjustments will do.
There are, however, some camera features that you may need to focus on. And this points to the dynamic range feature of the camera. As it happens, this mainly refers to the detail of the camera that it can capture within a single frame in both light and dark areas.
On the market today, cameras like Canon EOS R, Nikon D850, and Sony A7 are some of the most prevalent camera models that many photographers utilize in a sunset and northern lights photography.
The Best Lenses For Sunset Photography
According to pro, you don’t need to have extra lenses as the fixed lens that your digital camera offers will already do an excellent job. But if you are looking at a much more technical perspective, here are some of the standard lenses that you may use for sunset photography:
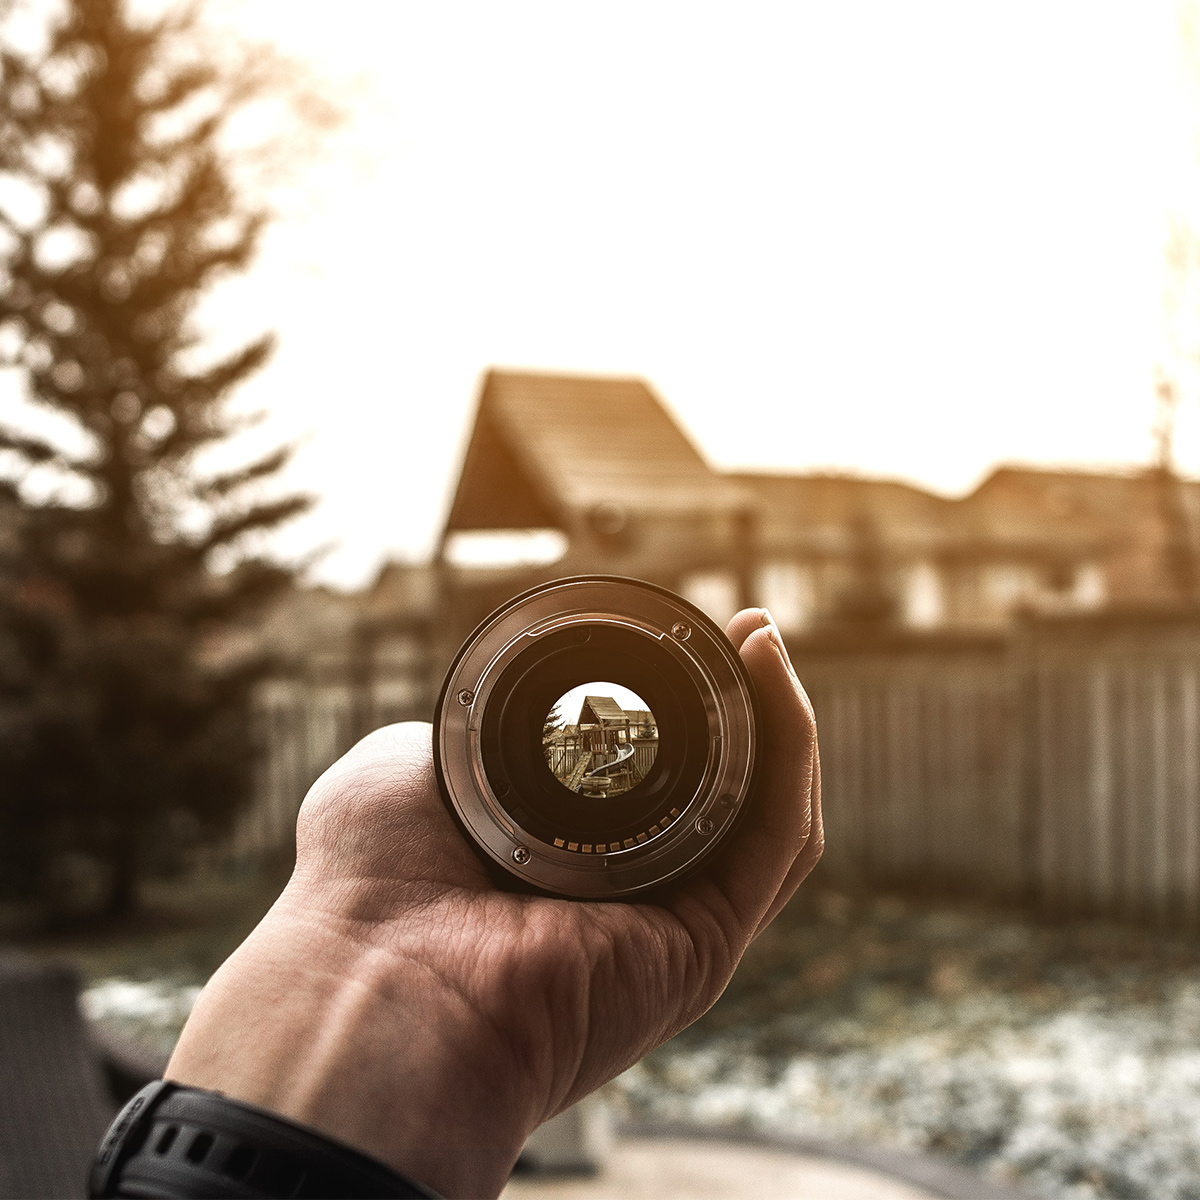
Wide-Angle Lenses
The most common type of lenses is wide-angle. Because it will allow you to cover and capture the broadest range of the area. Keep in mind, though, that wide-angle lenses “shrink” the size of the sun in respect to the frame that you are aiming to cover.
Telephoto Lenses
In contrast with the wide-angle lenses, the telephoto lenses do the opposite. It makes the sun appears to be much larger. And you will want this type of lenses if you intend to hone only a specific part of the scenery.
[adinserter block=”2″]
Prime Lenses
For much sharper images, prime lenses can pretty much do a decent job. And if you like to experiment with your shots with the sunset, like utilizing bokeh and silhouette, this lens is the one that you will need.
The Ideal Camera Setup For Perfect Sunset Pictures
If you already settled with the camera and the lens that you have, the only thing that is left for you to do is to adjust the settings of your camera. And from there, you are already good to go and take great shots of the sunset.
Here are ideal camera settings that you may need to apply:
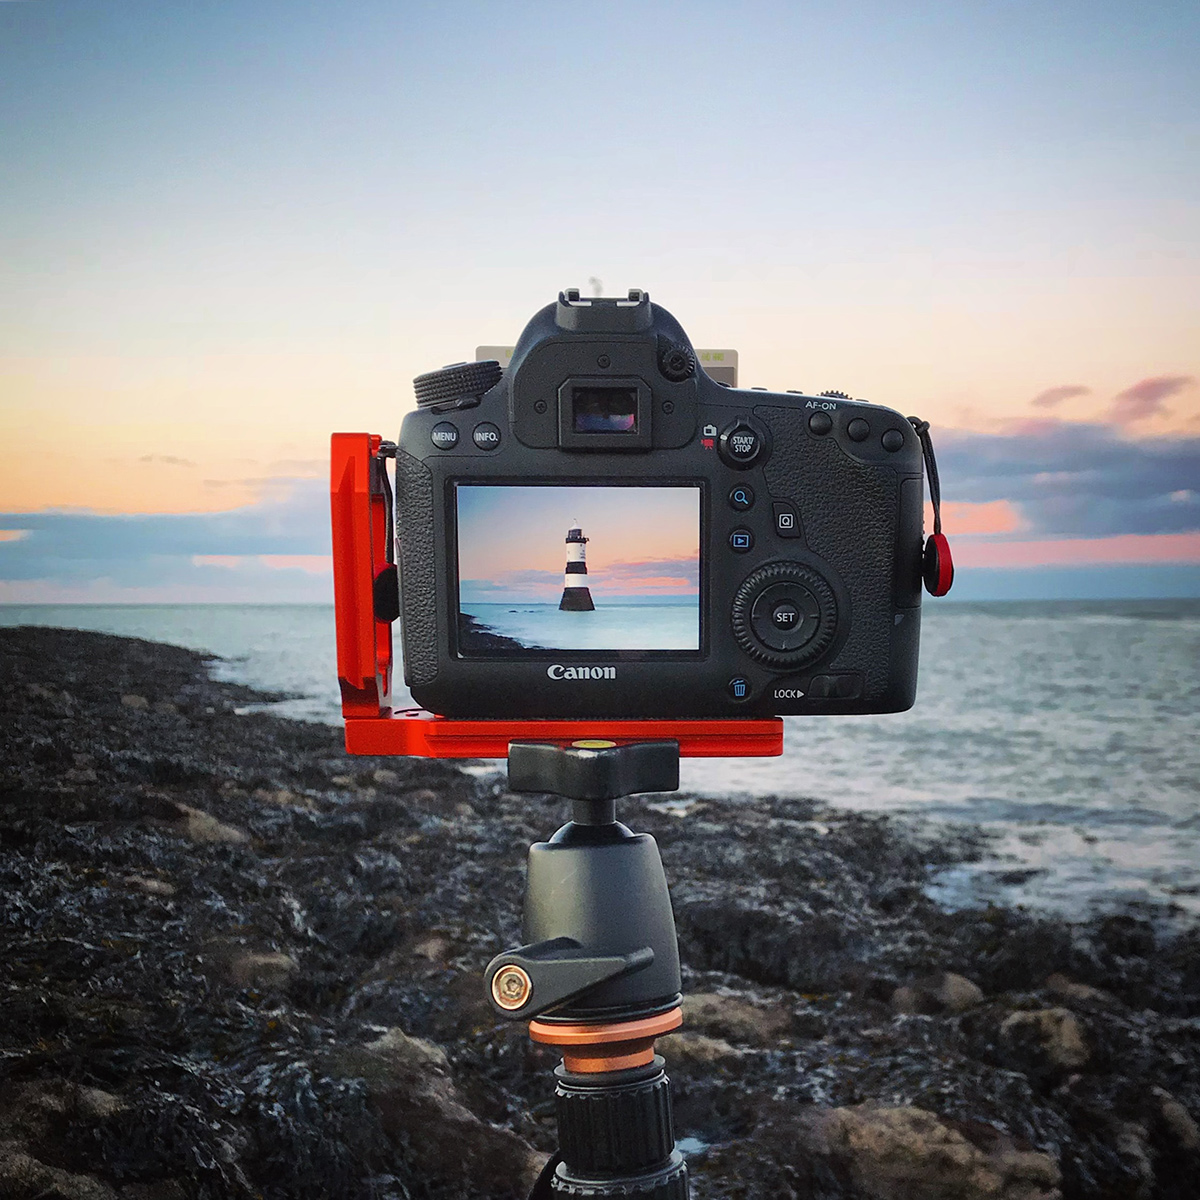
Shoot In Aperture Priority Mode
If this is going to be your first time to take sunset photos, then it is best if you use the aperture priority mode. Turn the settings dial to A or AV to change the mode. By doing this, the camera will then allow you to set the aperture, and it will do the rest like changing the shutter speed for you.
As for setting the aperture, utilize a high aperture number, generally between the range of f/11 and f/16, to obtain a significant depth of field. It can also help you create a starburst effect.
Exposure Blending
When setting the exposure, you may want to bring or dial it down. And this is to prevent the photo from being blown out by intense light. Even so, you can manually adjust the dial and check it for yourself.
[adinserter block=”2″]
Use A Tripod
Sunset photography is much more effective and efficient when the camera is in its most “still” position. And if you are skilled enough, this will be very easy for you. But if not, and you are still in the process of learning, then you should use a tripod.
White Balance
All digital cameras have an auto white balance. And this would typically work fine. But even so, experimenting with the other options like daylight and cloudy will help you obtain various tones in the photos that you will take. Try to check these modes one by one; even the shade settings will help you as well in enhancing the tones.
Set Your ISO to 100
As much as possible, you will need to set your ISO to the lowest rating. And per the experts, ISO 100 is the ideal figure. Keep in mind that the higher the ISO, the more “grainy” the images will be. It is worth noting still that you have to adjust the ISO and increase the rating as the sun goes down.
Shutter Speed Adjustment
Once the aperture and ISO are set, the next important aspect of the camera that you will need to consider is the shutter speed. If you’ve set the camera in its aperture priority mode, the camera will take care of the shutter speed. But you will still need to regard this setting as there are times that you will need to increase the speed so that blur motions can be largely prevented.
[adinserter block=”2″]
Final Thoughts
If you are new in the world of photography, these tips and points can be overwhelming, especially if you haven’t tried it out yet with your camera. So, do a trial and error with the points in this guide. And from there, you will surely understand these technicalities that will allow you to manage your sunset photography fully.

Author: Dhaval Patel
I have two passions: Travel & Photography. Lucky for me they go hand in hand. My goal is to inspire and encourage others to get out into nature — it’s a beautiful and enlightening experience. Be sure to check back often to learn the various ways I photograph nature. If you have any requests feel free to contact me.

