In this quick Photoshop tutorial will see how to save Photoshop layers to individual files. With this method, you can speed up the workflow in Photoshop and automatically save multiple layers. You can choose between different file types including Jpg and PNG. The built-in script tool in Adobe Photoshop does all the work.
Tutorial Details
Difficulty: Beginner
Apps Used: Adobe Photoshop
Estimated Completion Time: 2-5′ Minutes
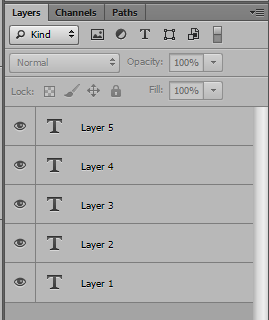
Step 1 > Layers
First check all the layers you want to save to separate files.
Step 2 > Run the Script
Go to File > Scripts > Export Layers to Files.
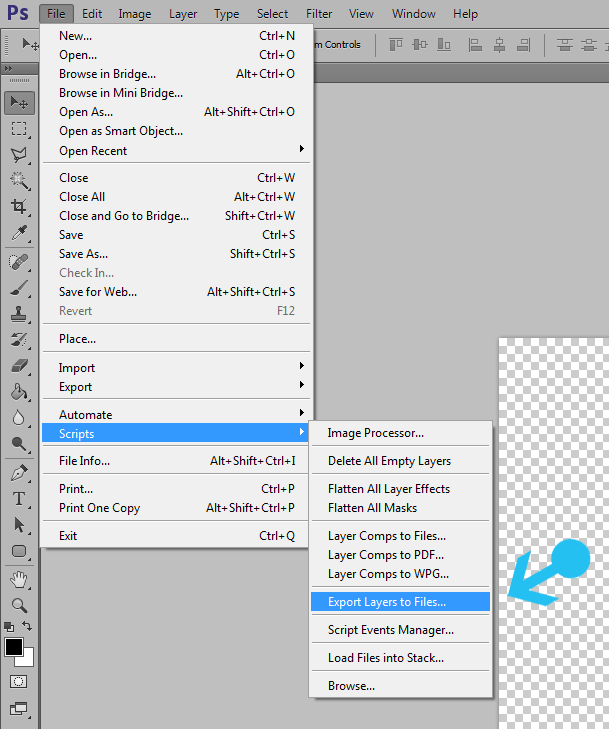
Step 3 > Script Settings
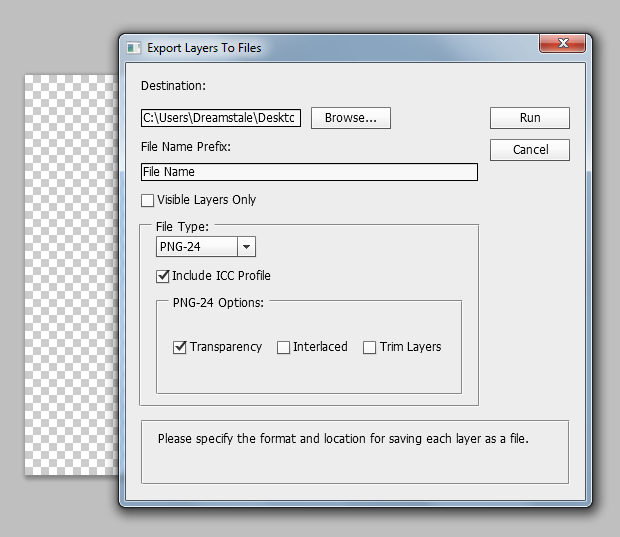
Change the file destination to your desired folder/path. Filename prefix works as a template for each file name. Next, make sure you pick the right settings for the file type and options.
Transparency is required when you want to save transparent PNG files. Un-check “Trim Layers” to keep the same size for all exported layers. If enabled, “Trim Layers” will automatically crop the final images.
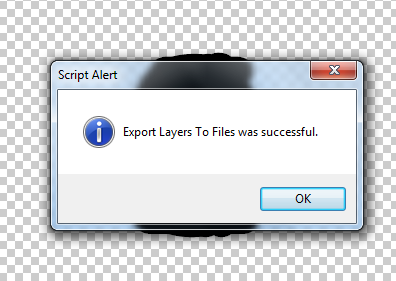
You can finally find the exported files under the destination folder/path.
Conclusion
You can use the same tool to export Jpg, Png, Psd, Pdf and other files. Speed your workflow with this quick tool. Useful when you want to save icons and other objects.
15,000+
Design Assets
- Instant Access
- Free Content Updates
- Constantly Growing Library
- Unlimited Downloads
- Simple Licensing


By Dreamstale
Get creative with our free & premium design resources. Download a vast collection of graphic design materials, such as graphics, sublimation designs, icons, textures, stock photos and more.
Plus get access to Photoshop tutorials & inspirational articles that will spark your imagination.


