If you are new to Adobe Illustrator and looking for some quick tips to get you started, this tutorial will provide 10 techniques that can help make your learning experience easier and faster.
As a graphic designer, you know that Adobe Illustrator is essential for creating beautiful vector designs. Whether you’re a total beginner or an experienced professional, mastering this program takes practice and patience.
To give your workflow a kickstart, here are 10 quick tips & techniques to get you up and running with Adobe Illustrator faster than ever.
1. How to open AI files?
AI files are vector files created by Adobe Illustrator. These files can be used for a variety of purposes, from creating logos to designing complex diagrams and illustrations. But before you can use an AI file, you’ll need to know how to open it. Fortunately, opening an AI file is easy and straightforward. Let’s take a look at the steps you need to take in order to open these important files.
There are different ways to open native .ai Illustrator files.
The simplest way is to double-click the files you downloaded.
If Illustrator is not running you have to wait a few seconds.
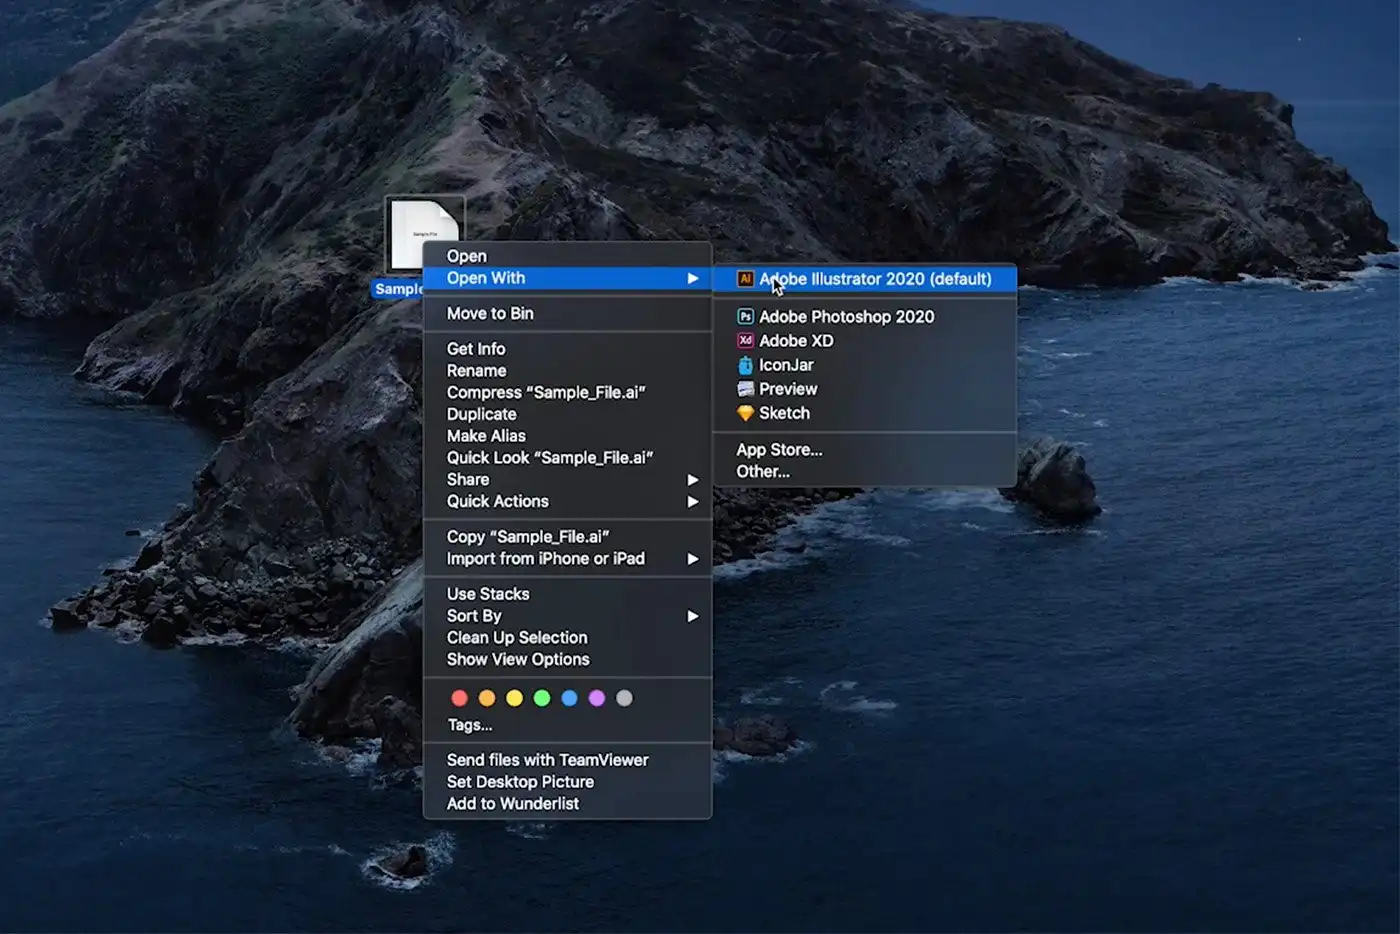
If for some reason your computer does not recognize the downloaded file as a native Illustrator document then with the file selected > right-click > Open with > Adobe Illustrator. It works the same way on windows.
Another way to open Illustrator files is inside the program.
Go to File > Open > navigate and find the file you want to open.
Simply select and press open.
2. How to curve text in Adobe Illustrator
First, let’s create some text.
Pick the type tool or press T on your keyboard.
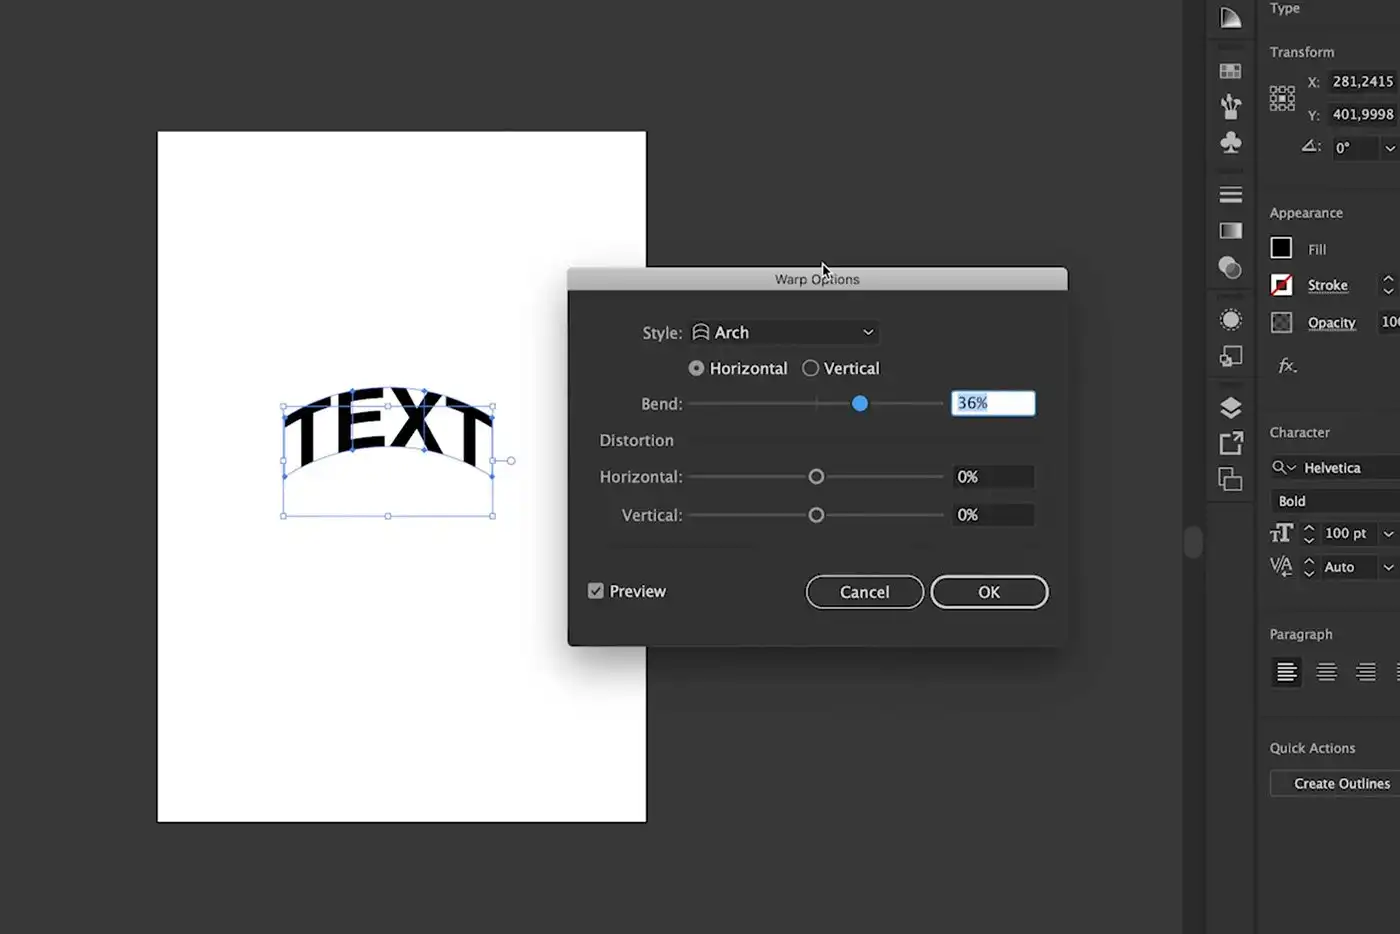
With the text selected on the top bar there is an option: Make envelope.
Make sure the Preview box is selected.
Next, change the bend value until you have something you like.
There are different warp styles including arch, shell, flag, wave, fish and so on.
If you move the cursor to the left you have a lower bend and if you move the cursor to the right, you have an upper bend.
To confirm the changes simply press OK.
3. How to make wavy lines in Illustrator
To create wavy lines pick the Line Segment Tool.
Set the fill color to none, change the stroke size and draw a line.
To make a perfectly straight line, press the shift button while drawing.
With the line selected go to Effect > Distort and Transform > Zig Zag.
Make sure the preview box is selected.
For smooth waves check the smooth option. You can also change the size and number of waves.
Press OK to confirm the changes.
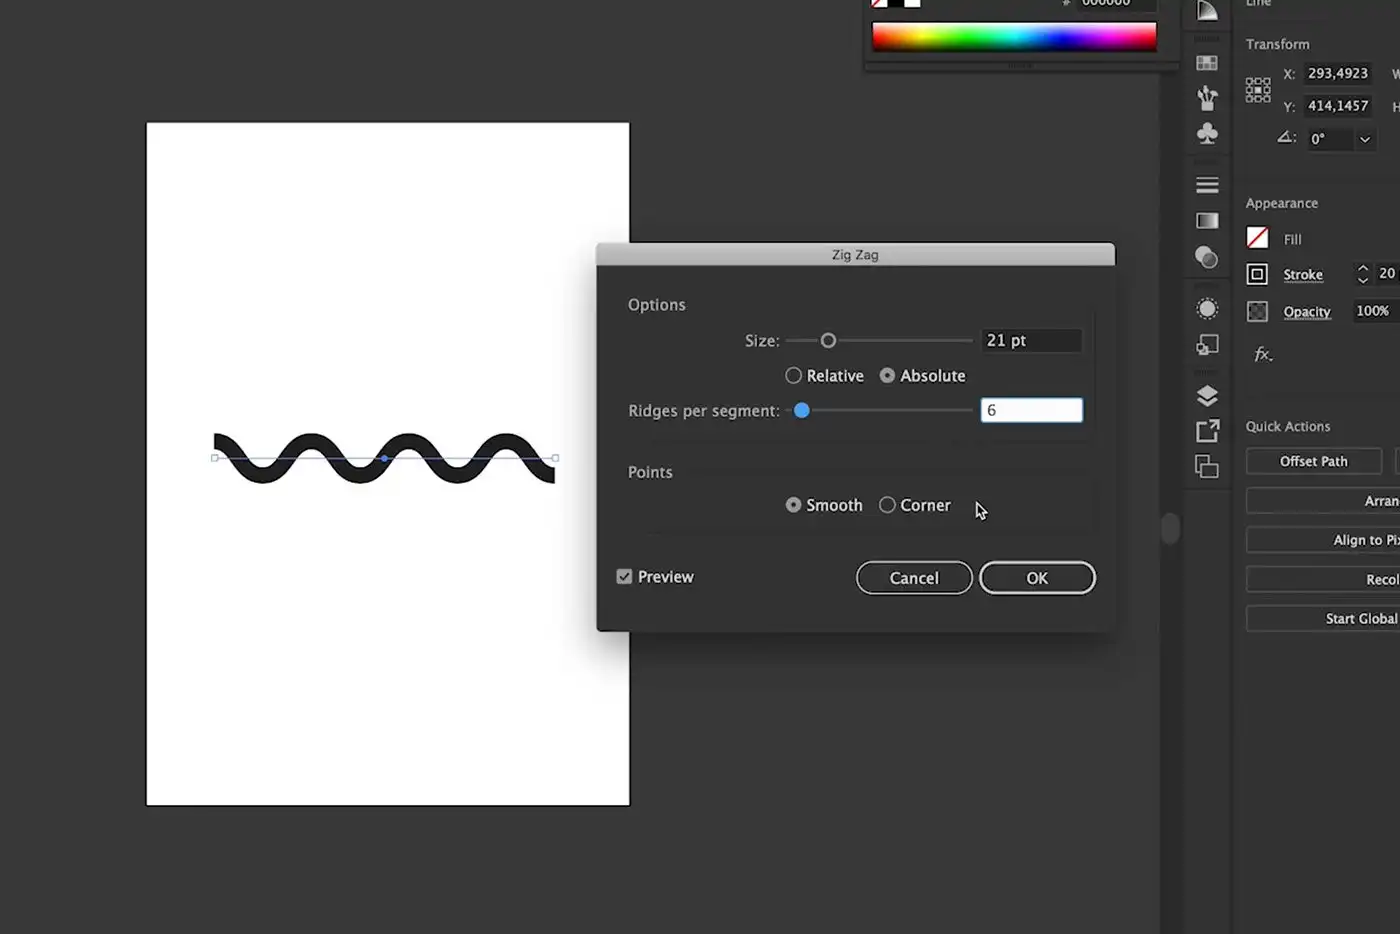
4. How to make dotted lines and shapes
First, create a straight line. For a perfectly straight line, press the Shift button while drawing.
On the top bar, click the Stroke Panel. Change the Cap option to Round Cap.
Check the Dashed Line option and set the dash to zero.
Increase the gap until you like the result.
Keep in mind this effect is dynamic. If you want to change the gap latter all you have to is go to the stroke panel and change the gap number.
You can also use the same technique for shapes.
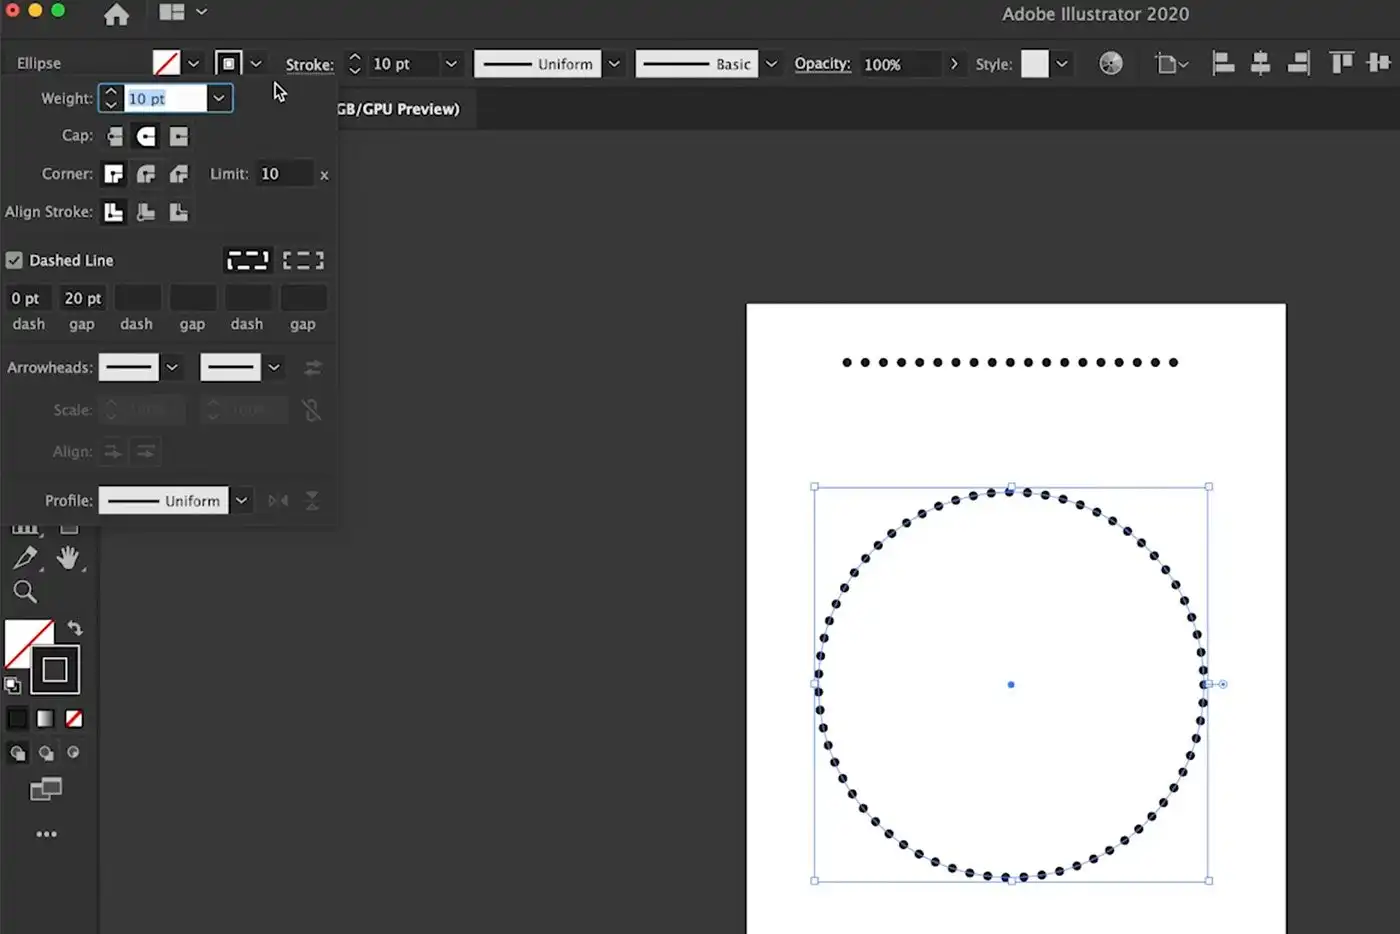
5. How to create outlines
To create outlines simply right-click over the text and press Create Outlines. Another way is to go to Type > Create Outlines or press Shift + CMD + O.
Instead of a live text now we have a path.
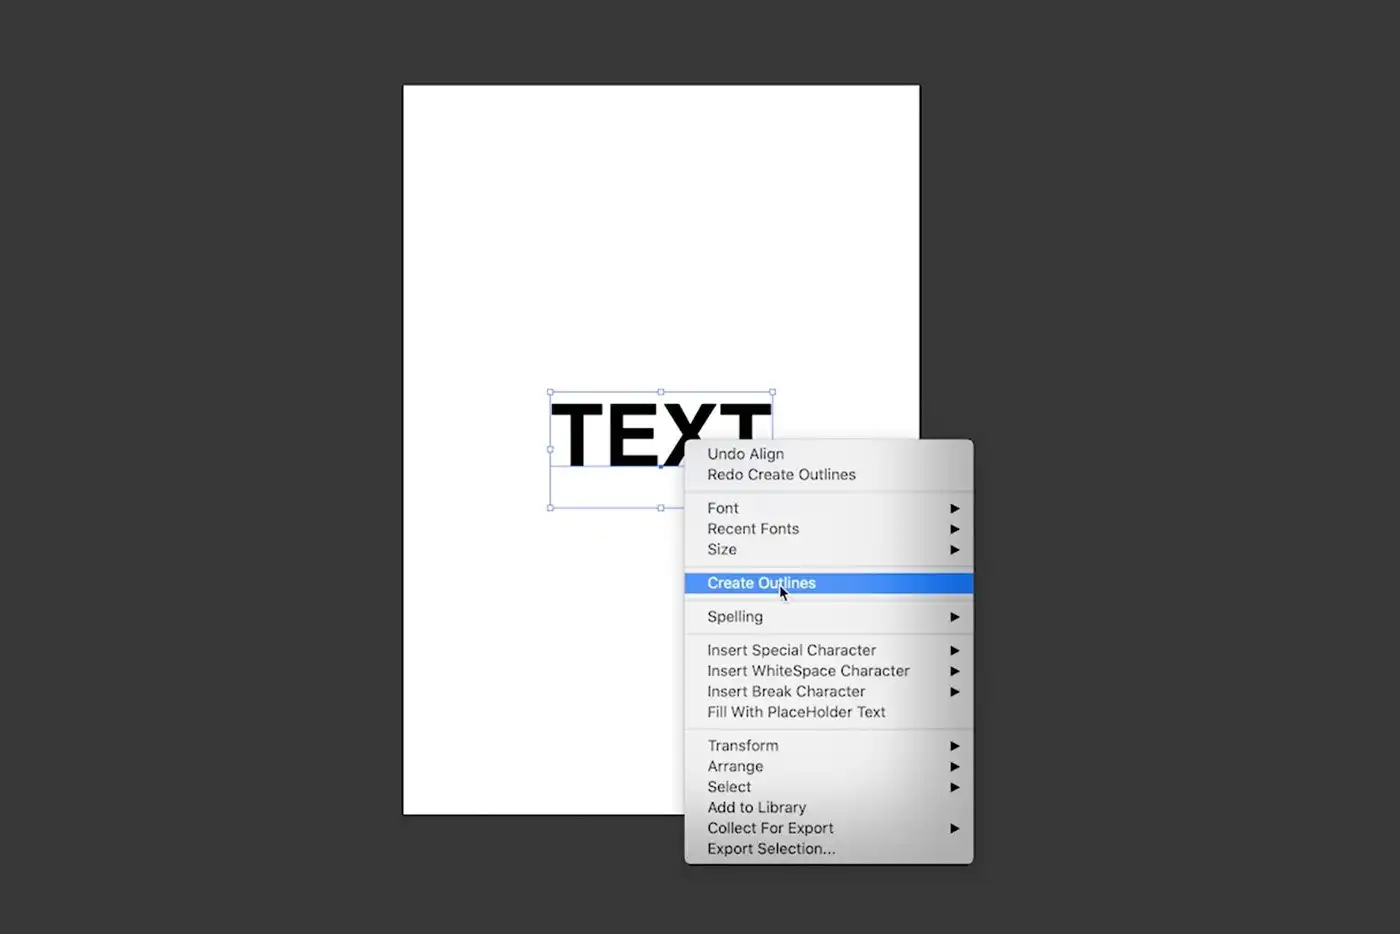
6. How to curve lines
To curve a line pick the Curvature Tool.
Drag the line until you are happy with the result.
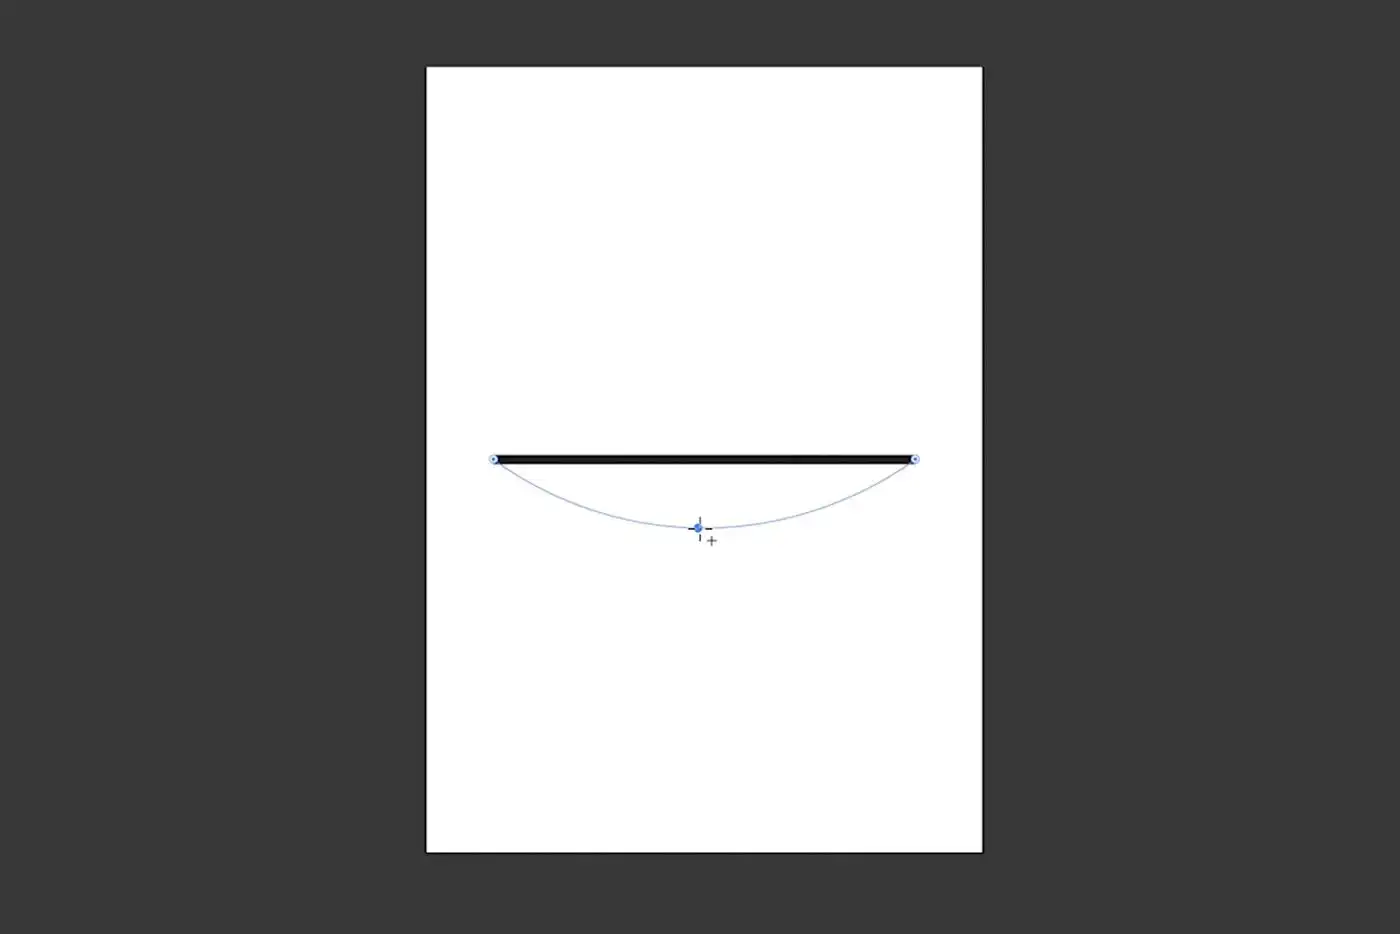
7. How to make a half-circle
There are different ways to create a semi-circle in Illustrator.
A simple way is to create a circle shape first with the Ellipse Tool.
Press the shift key to create a perfect circle.
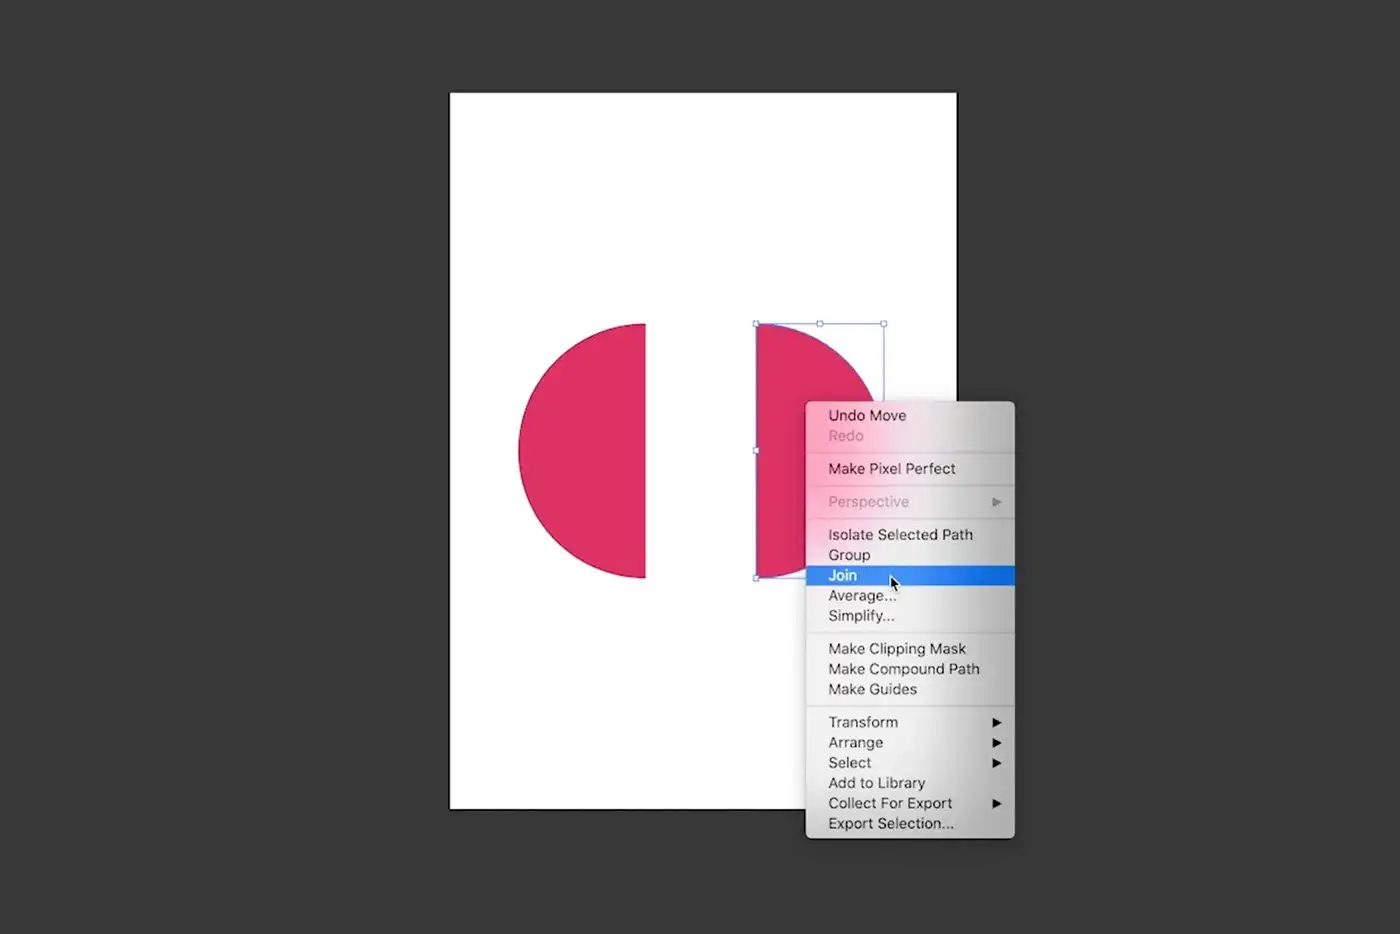
Next, pick the Scissors tool and click once to two points to separate the shape in half.
Keep in mind that the half-circles we created are open shapes.
To close the open path simply right-click and press Join.
Repeat the same for the second shape.
8. How to type on a curve / shape
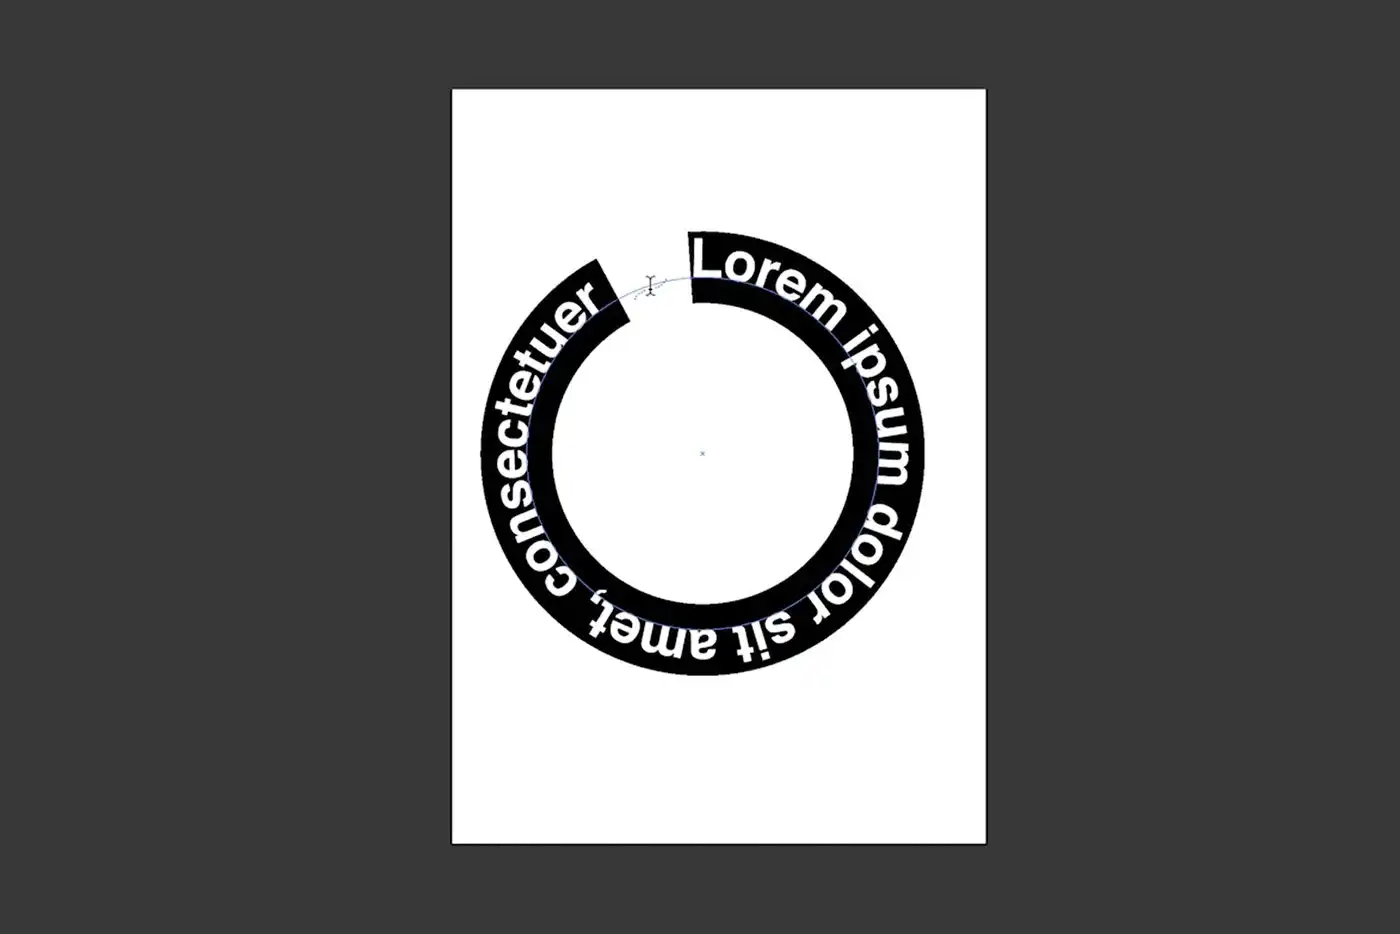
To type on a curve, first, create a shape.
Next, pick the Type on a Path tool and click over the shape.
We can change the direction of the text by adjusting the handles.
9. How to draw an arrow
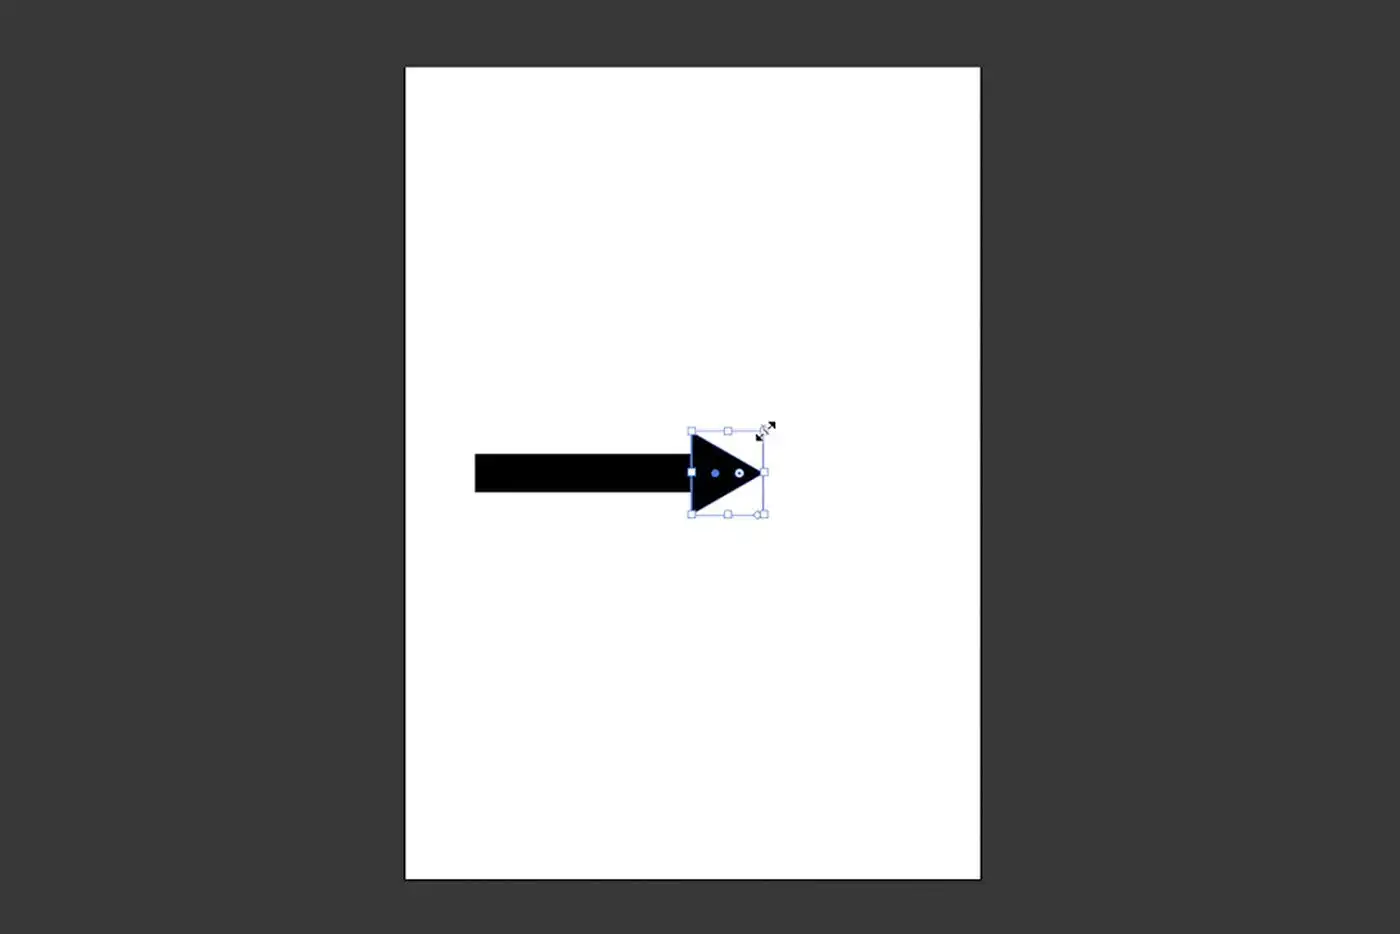
To draw an arrow pick the line segment tool.
Draw a perfect horizontal line while pressing the shift key.
Deselect the line and Press Shift + X to swap the color between the fill and stroke.
Next, pick the Polygon tool. Click, inside the artboard. In the new dialog box set three sides and press OK.
Rotate and re-size the shape while pressing the shift key on your keyboard.
Align both shapes until they intersect.
To Group the shapes together press CMD + G on your keyboard.
10. How to create SVG – EPS files
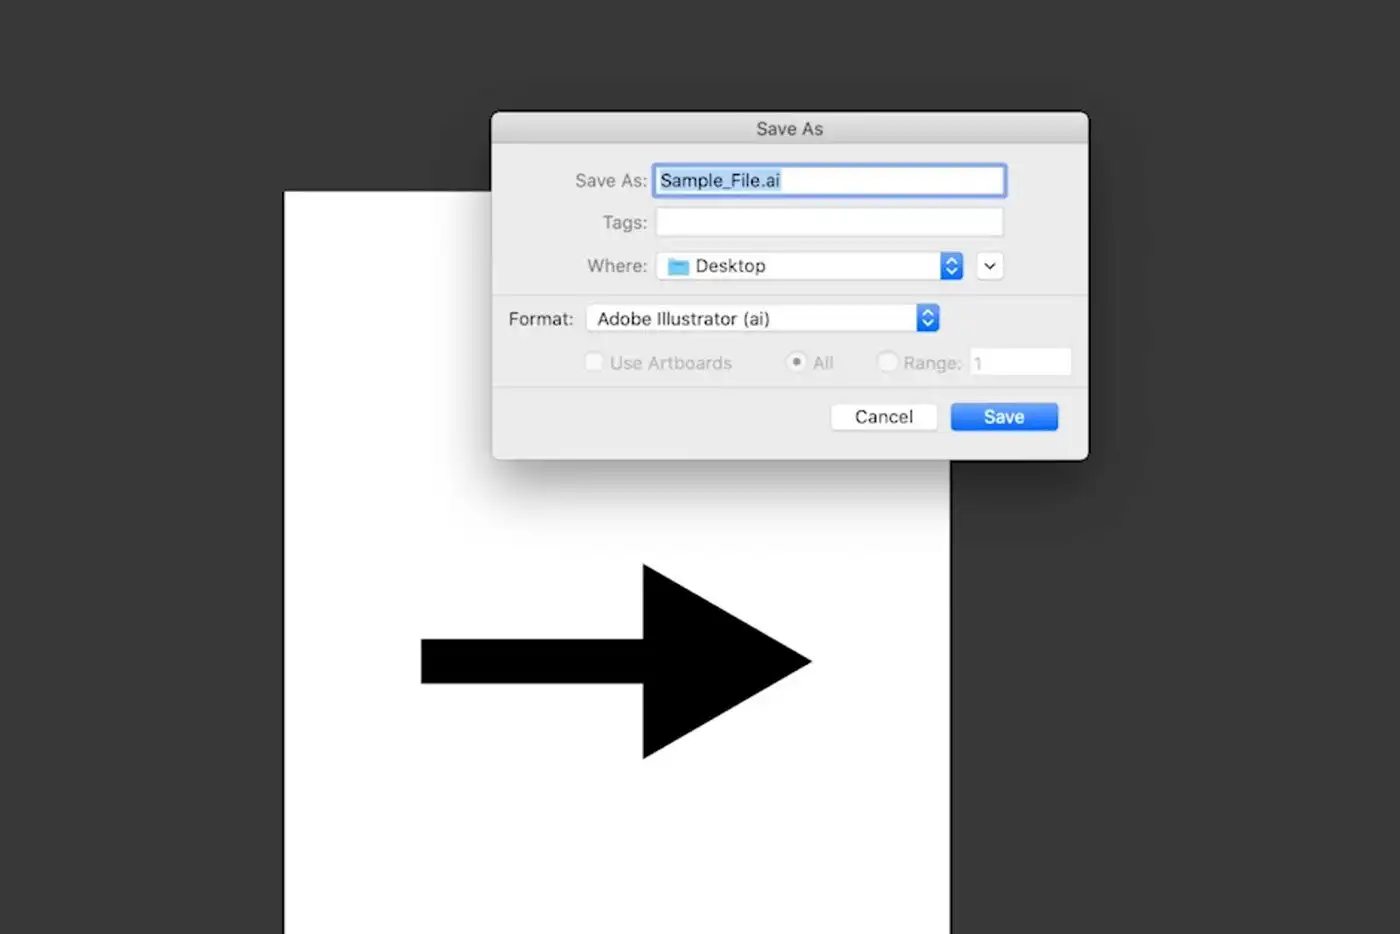
Go to File > Save as or press Shift + CMD + S.
Change the format to EPS or SVG.
For SVG the default options are fine but for complex shapes, increase the number of the Decimal places by pressing More Options and increasing the number
Video tutorial
Check this video for detailed instructions on 10 quick beginner tips in Adobe Illustrator.

By Dreamstale
Get creative with our free & premium design resources. Download a vast collection of graphic design materials, such as graphics, sublimation designs, icons, textures, stock photos and more.
Plus get access to Photoshop tutorials & inspirational articles that will spark your imagination.

