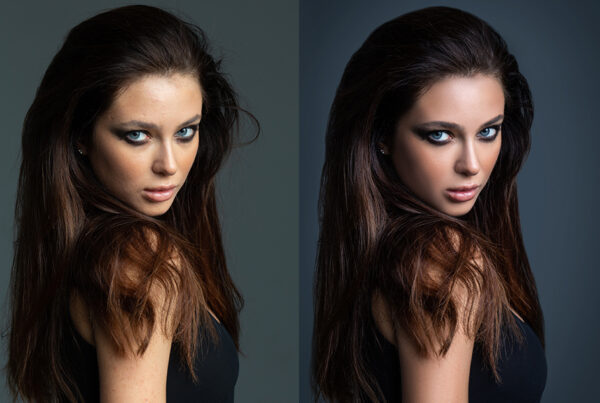
In this quick Photoshop tutorial, we’ll learn how to create a quick highlight circle. You can use this technique to highlight objects or parts of your image. Image blurring is a very popular technique around the web.
Tutorial Details
Difficulty: Beginner
Apps: Adobe Photoshop
Estimated Completion Time: 5′ Minutes
Resources: Boy & the Bench by woodsy
Step 1 > Open the Image
First, open the image you want to edit in Photoshop
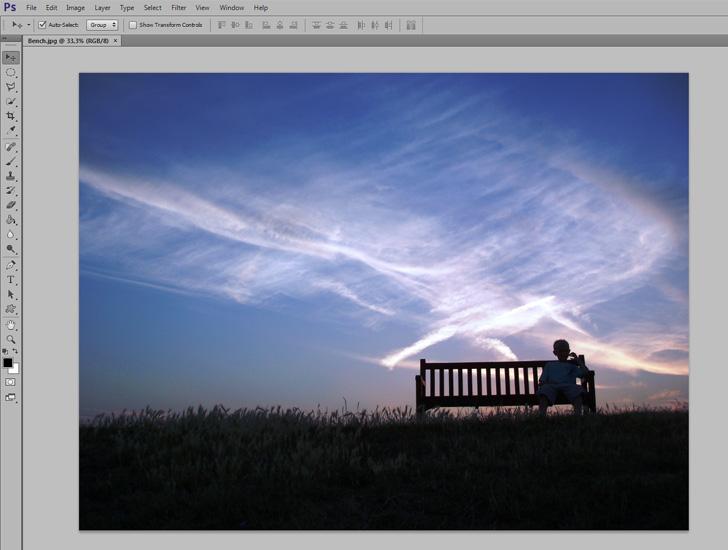
Step 2 > Select the Circle
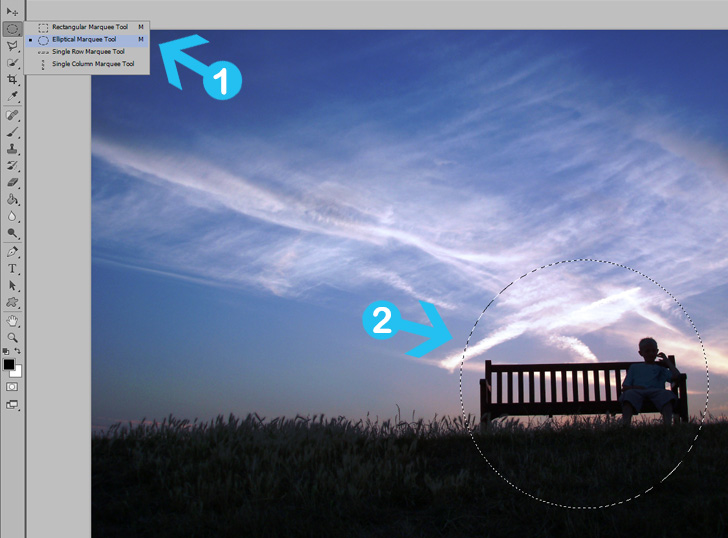
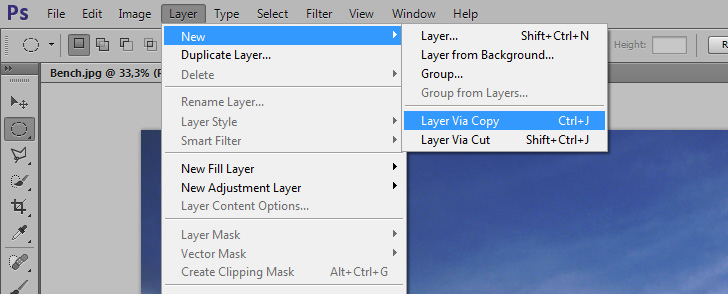
Pick the Elliptical Marquee Tool (M) in your toolbox. While pressing Shift on your keyboard, create a perfect circle selection around the bench. Next, go to Layer > New > Layer Via Copy to create a layer for your selection.
Create a new layer via copy
Step 3 > Blur the Background
With the “Background” layer active go to Filter > Blur > Gaussian Blur and add 30px blur.
Press OK to confirm the Gaussian Blur effect.
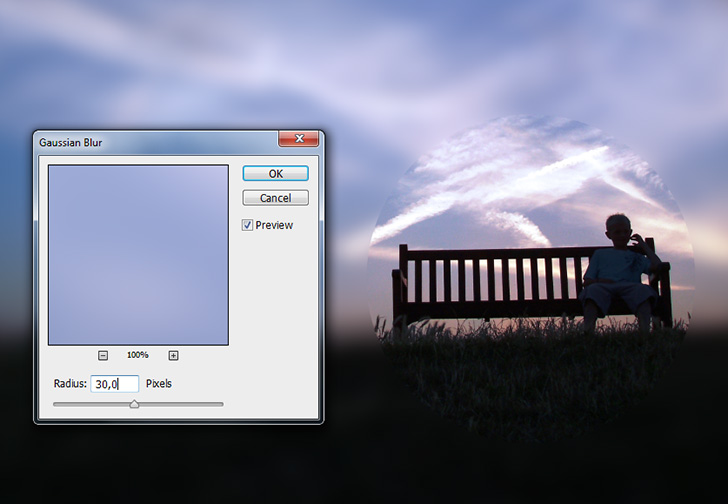
Step 4 > Blending Options & Text
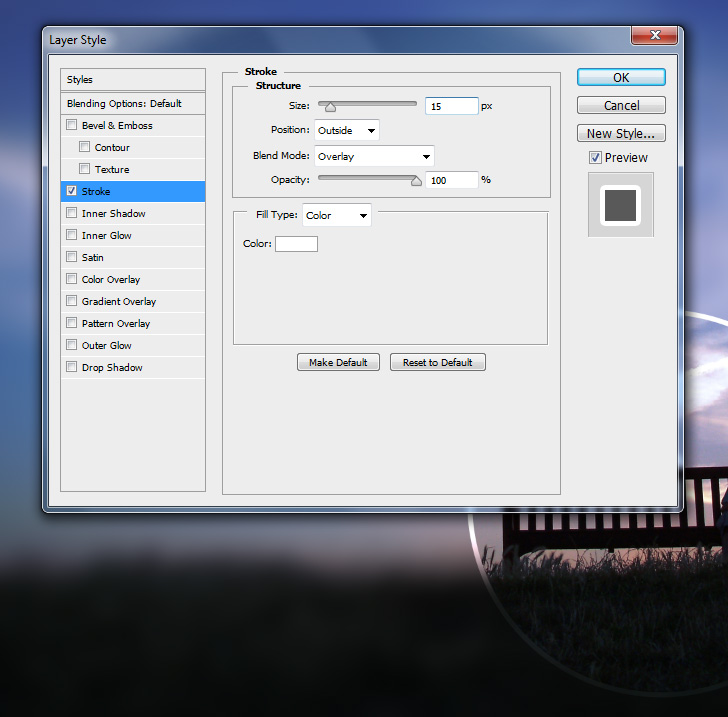
With the “Circle” layer active go to Layer > Layer Style > Blending Options and replace the values similar to the first image. With Type Tool (T) you can add any text to the image.
Blending Options: Stroke: Size – 15px, Blend Mode – Overlay, Opacity – 100%, Color – White (#ffffff).
Conclusion
A simple and easy technique. You can use this method to highlight objects in your images.

15,000+
Design Assets
- Instant Access
- Free Content Updates
- Constantly Growing Library
- Unlimited Downloads
- Simple Licensing

By Dreamstale
Get creative with our free & premium design resources. Download a vast collection of graphic design materials, such as graphics, sublimation designs, icons, textures, stock photos and more.
Plus get access to Photoshop tutorials & inspirational articles that will spark your imagination.


