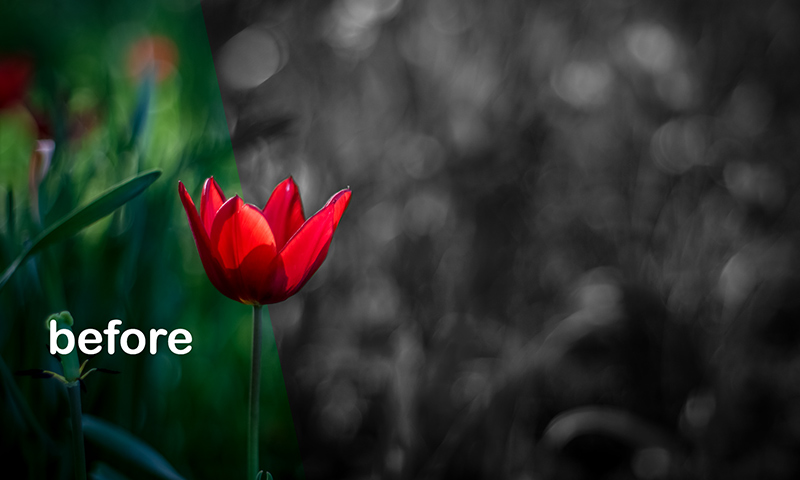
Creating a color splash effect in Adobe Photoshop is an easy, yet very attractive way to take a regular black and white photo to the next level. This color splash effect gives a photo an entirely new look and feels, allowing color and light to draw attention to particular parts of the photo that wouldn’t normally stand out.
In this tutorial, we will go through the steps on how to create the color splash effect so you too can add some excitement and personality to your photos.
Tutorial Details
Difficulty: Beginner
Apps Used: Adobe Photoshop
Estimated Completion Time: 5-10′ Minutes
Resources: Red Tulip by Sorin
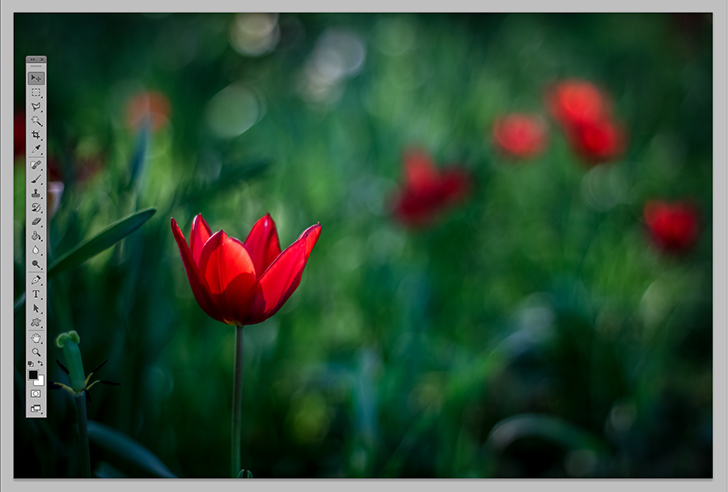
Step 1 > Open the Image
First, open the image you want to use. For this tutorial, i used a red tulip with a dark background but you can use hearts, roses, fruits or anything else.
Step 2 > Duplicate the Layer
To duplicate the layer go to Layer > Duplicate Layer.

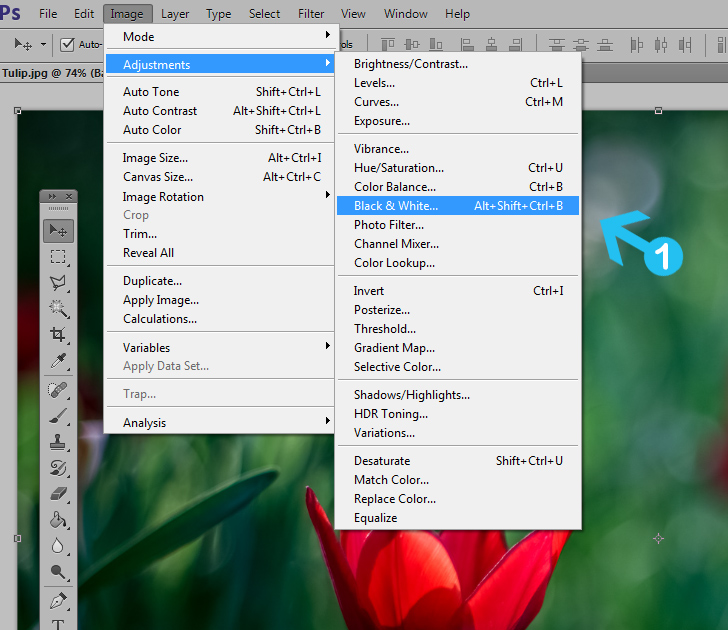
Step 3 > Convert to Black and White
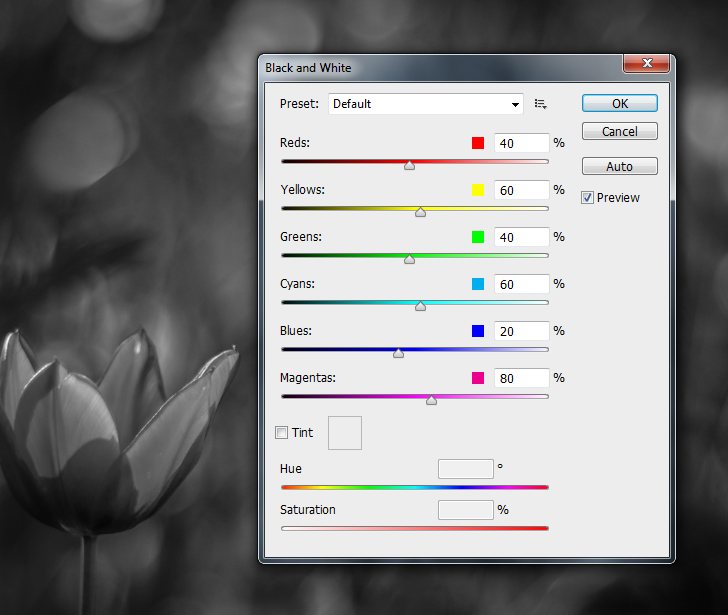
To convert your new layer to black and white go to Image > Adjustments > Black & White. In the new tab keep the default settings and press OK.
Step 4 > Add a Layer Mask
To add a layer mask press the Add layer mask small button at the bottom of the layers palette.

Step 5 > Use Brush Tool
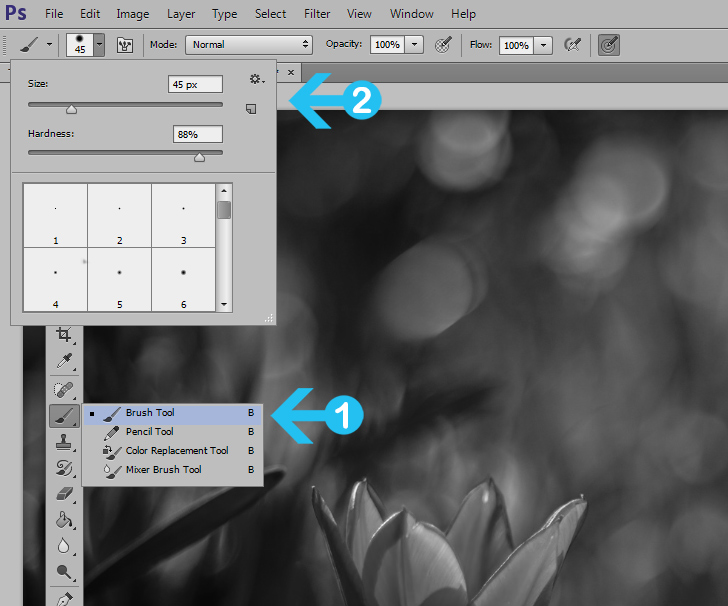
Change your foreground color to black #000000 and pick the Brush Tool (B) in your tools palette. Use a small brush around 45px and 88 or higher hardness.
Step 6 > Draw Over the Tulip
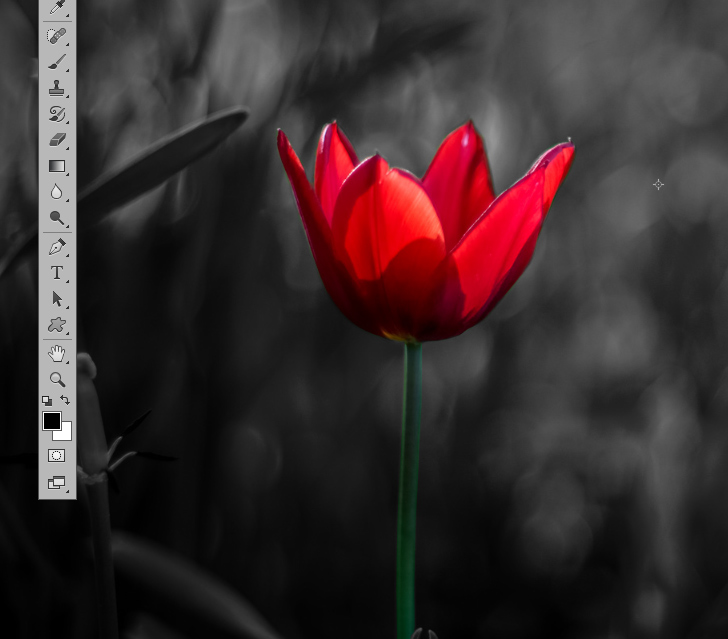
Use the brush to draw over the tulip. For smaller details decrease the brush size. If you make any mistake, change the foreground to white and draw again over it. Draw carefully until you finish all the tulip.
Conclusion
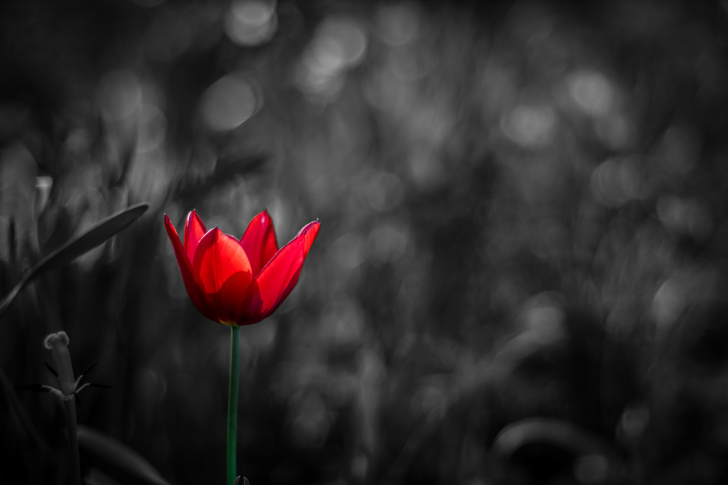
The color splash effect in Photoshop is a great way to add dramatic flair to an image. By converting the photo to black and white and then selectively colorizing certain features with color, stunning results can be achieved.
15,000+
Design Assets
- Instant Access
- Free Content Updates
- Constantly Growing Library
- Unlimited Downloads
- Simple Licensing


By Dreamstale
Get creative with our free & premium design resources. Download a vast collection of graphic design materials, such as graphics, sublimation designs, icons, textures, stock photos and more.
Plus get access to Photoshop tutorials & inspirational articles that will spark your imagination.


