
In this Photoshop tutorial, we’ll learn how to create light rays. This simple technique is great for bright images. No special Photoshop skills are required to create your own cool rays and this tutorial will let you create rays in five minutes or less.
Tutorial Details
Difficulty: Beginner
Apps: Adobe Photoshop
Estimated Completion Time: 5-10′ Minutes
Resources: Green Lake
Step 1 > Rays
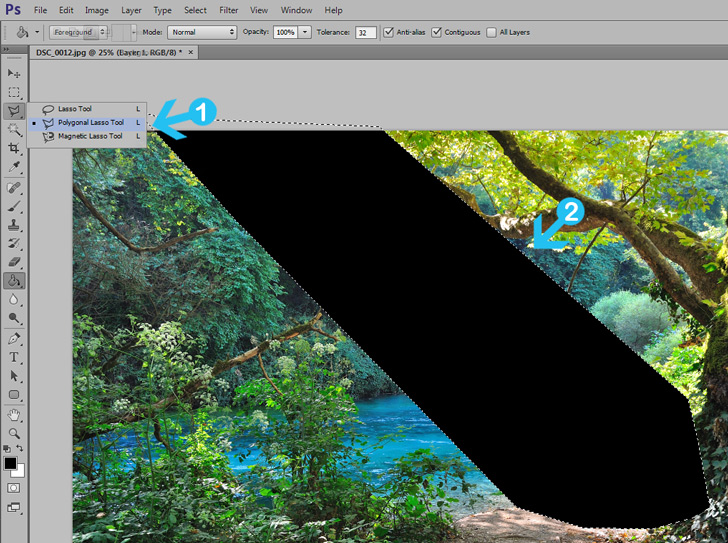
Let’s go straight to the point and create a new layer. Pick the Polygonal Lasso Tool (L) on your toolbox and create a quick selection in the area where you want to add rays of light. Next, fill the selection with black color and press (Ctrl + D) to deselect.
Step 2 > Difference Clouds & Threshold
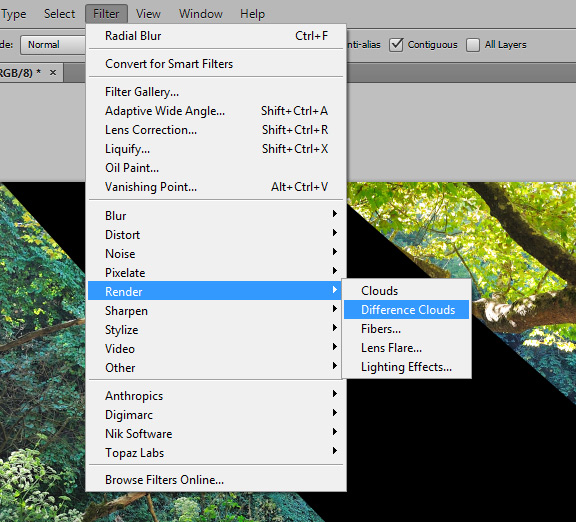
With the black shape layer active go to Filter > Render > Difference Clouds.
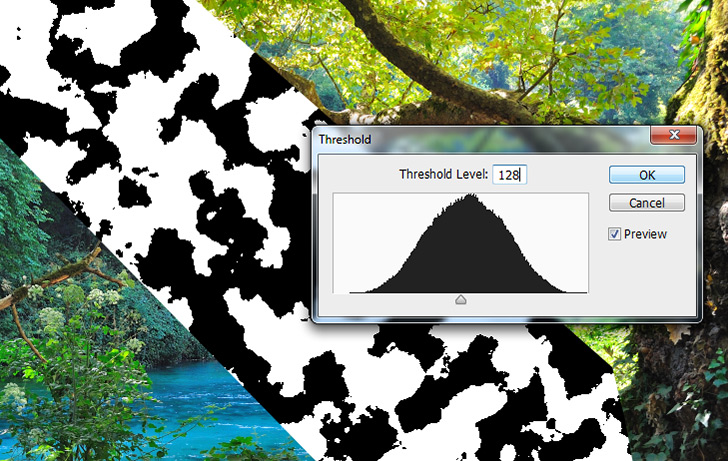
Next, go to Image > Adjustments > Threshold and press OK by accepting the default values.
Step 3 > Radial Blur
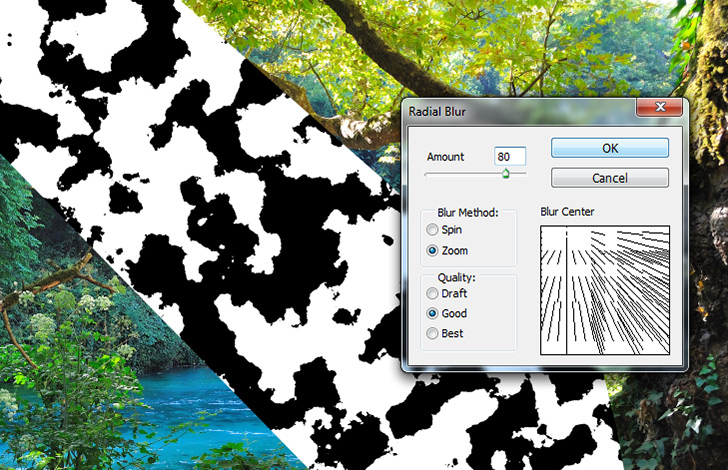
Go to Filter > Blur > Radial Blur and add change the settings similar to the first image.
Amount: 80, Blur Method: Zoom, Quality: Good. Make the Blur Center follow the light ray’s angle and press OK.
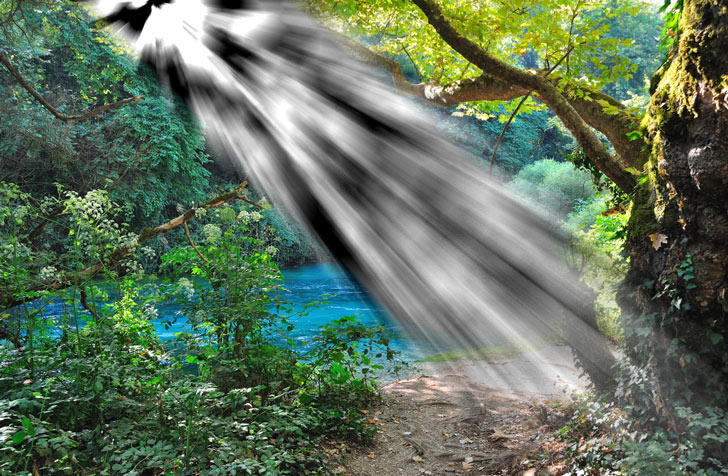
Step 4 > Blending Mode & Opacity
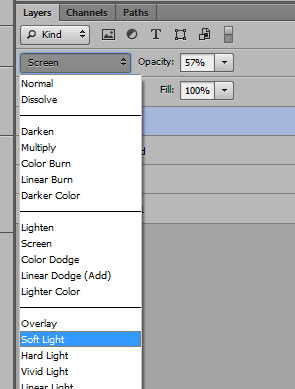
Change the Blending Mode to Soft Light and lower the opacity between 50% to 70%.
Conclusion
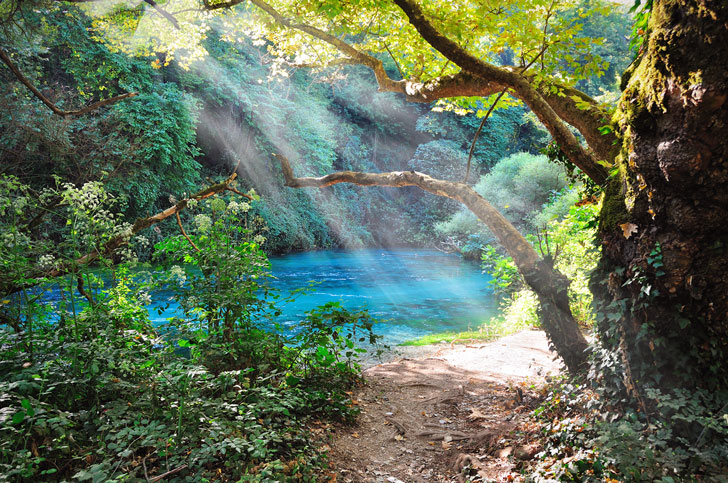
Remember to change the angle of the radial blur filter and follow the direction of light in your image. If your source of light is not the sun but a continuous artificial light then you must skip the second step.
15,000+
Design Assets
- Instant Access
- Free Content Updates
- Constantly Growing Library
- Unlimited Downloads
- Simple Licensing


By Dreamstale
Get creative with our free & premium design resources. Download a vast collection of graphic design materials, such as graphics, sublimation designs, icons, textures, stock photos and more.
Plus get access to Photoshop tutorials & inspirational articles that will spark your imagination.


