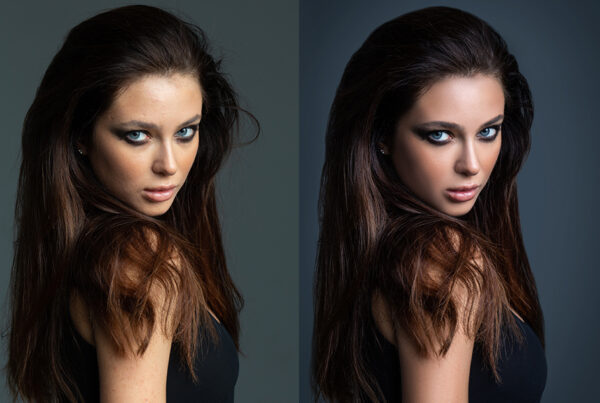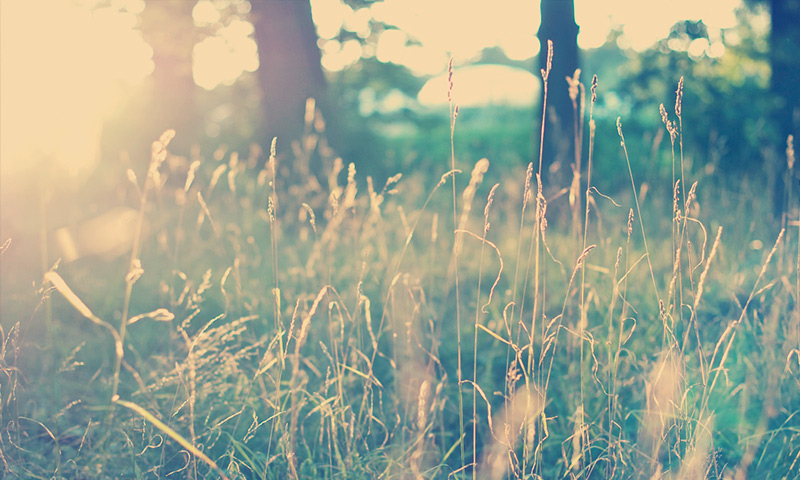
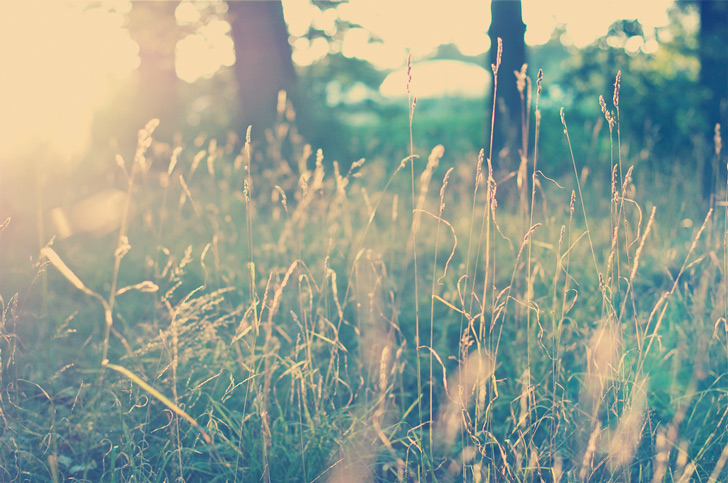
The ‘Nashville’ effect is a favorite among Instagram users who are looking to transform an ordinary photo into something that pops and stands out from the crowd. This effect can give images a warm, peaceful feeling, creating a stunning atmosphere in any picture you take. If you’re interested in recreating this look for yourself, this Photoshop tutorial provides step-by-step instructions on how to do so. While colors and settings must be adjusted to suit each image differently, generally speaking, it’s best to use brighter and sunnier photos for the best results.
Experiment with the Nashville effect today and see what amazing images you can create.
Tutorial details and resources
Difficulty: Beginner
Apps Used: Adobe Photoshop (CS5+)
Estimated Completion Time: 15-30′ Minutes
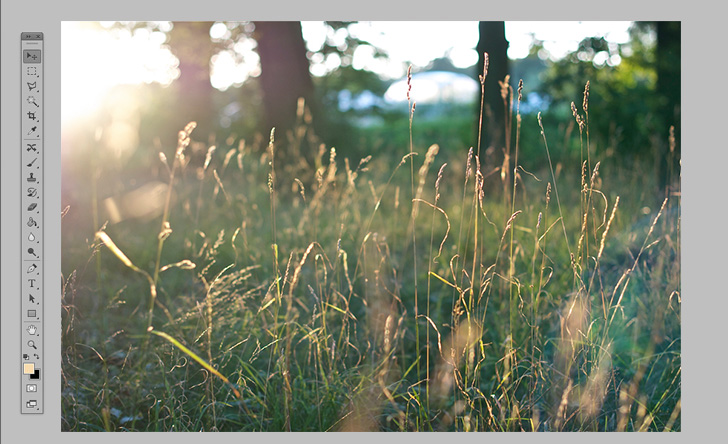
Resources: Sunset by Zdenko
Step 1 > Open the Image
First, open the image you want to use. You can use any size you like and the final image will not be affected by the resolution.
Step 2 > Create curves adjustment layer
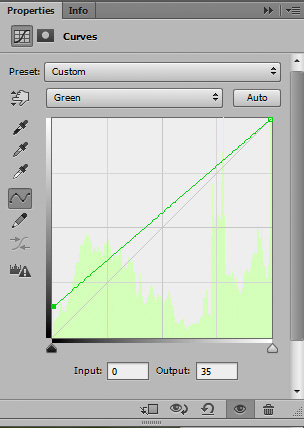
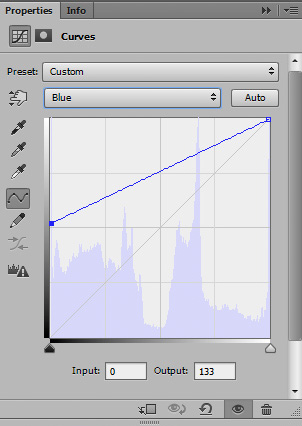
We need to change the color tones with adjustment layers. In the bottom of the layers palette press “Create new fill or adjustment layer” and Curves. We are going to add several adjustment layers so you must remember this step. For the first curves adjustment layer use the following settings:
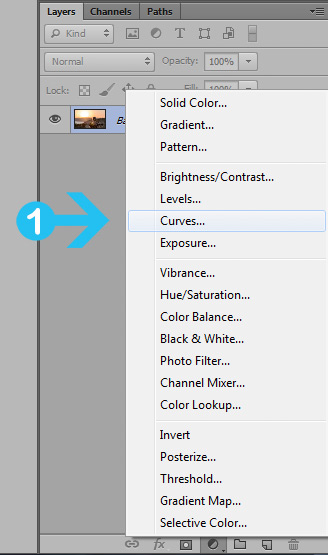
Green Channel: Output 35.
Blue Channel: Output 133.
Step 3 > Create levels adjustment layer
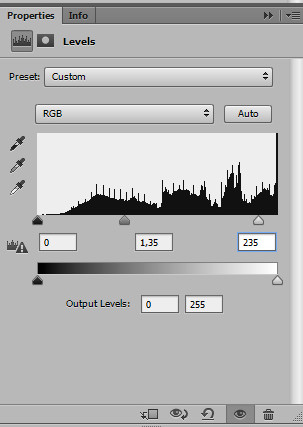
This time create a Levels adjustment layer with mid tones to 1.35 and highlights to 235.
Step 4 > Create brightness / contrast adjustment layer
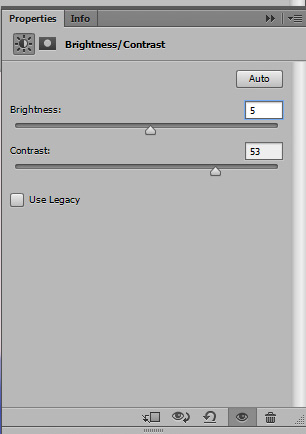
Create a Brightness/Contrast adjustment layer with 5 Brightness and 53 Contrast.
Step 5 > Create another curves adjustment layer
Create another Curves adjustment layer with the following settings:
Green Channel: Input 13.
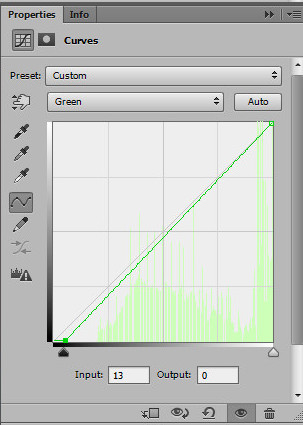
Blue Channel: Input 88.

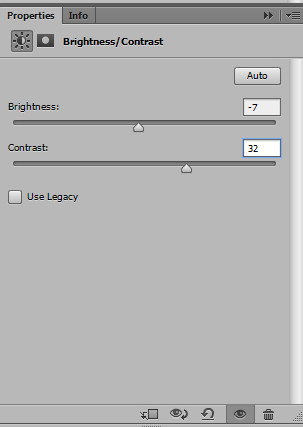
Step 6 > Create another brightness / contrast adjustment layer
Create another Brightness/Contrast layer with -7 Brightness and 32 Contrast.
Step 7 > Create a new layer
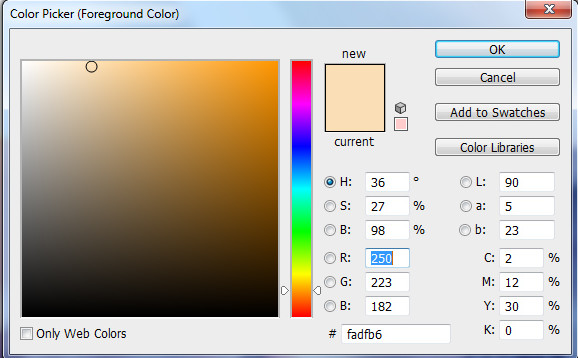
In this last step go to Layer > New > Layer to create a new layer. Fill the layer with #fadfb7 color and set the blending mode to Multiply.
Conclusion
Well done! You have completed this tutorial and now you know how to add a Nashville effect to your photos. You can change the color tones to achieve different results.
15,000+
Design Assets
- Instant Access
- Free Content Updates
- Constantly Growing Library
- Unlimited Downloads
- Simple Licensing

By Dreamstale
Get creative with our free & premium design resources. Download a vast collection of graphic design materials, such as graphics, sublimation designs, icons, textures, stock photos and more.
Plus get access to Photoshop tutorials & inspirational articles that will spark your imagination.


